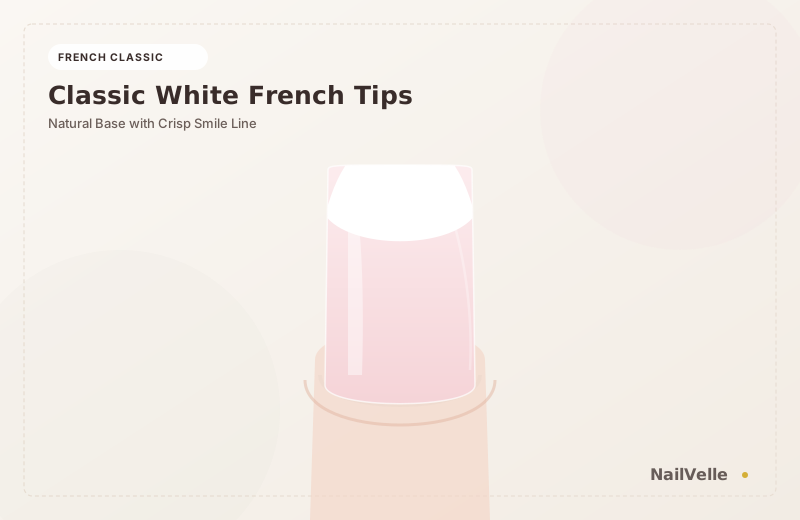
Achieving salon-level precision at home does not require years of vocational training—it requires an understanding of correct mechanical preparation, appropriate tool geometry, and disciplined product chemistry. In this comprehensive masterclass on How to Get Perfect White French Tips at Home, we demystify every phase from dry cuticle prep to final top coat mirror curing.
Essential Tools & Required Supplies
Before uncapping your polishes, assemble the following verified workspace essentials:
- Sanitization & Dehydration: 70% Isopropyl alcohol and lint-free wipes (avoid cotton rounds that leave stray fuzz).
- Shaping & Prep: A 180/240-grit etched glass nail file and a fine-grit buffer block.
- Cuticle Care: Stainless steel cuticle pusher and a gentle cuticle softener liquid.
- Base & Color Formulation: Quality foundation base coat and your chosen pigmented polishes.
- Specialty Detailing Tools: An ultra-fine 7mm or 9mm synthetic nail liner brush, dotting stylus, or neodymium magnet wand.
- Sealing & Curing: A high-performance non-wipe gel top coat and a 48W dual-wavelength (365nm + 405nm) LED/UV nail lamp.
Step 1: Dry Cuticle Care & Plate Preparation
Long-lasting nail enhancement begins with thorough plate prep. Avoid soaking fingers in water before applying gel or lacquer, as water expands natural nail keratin plates, causing premature chipping once dry.
- Gently push back the proximal nail fold with the rounded end of a stainless steel pusher.
- Use the pointed edge or a gentle stone tool to buff away stubborn dead cuticle tissue (the pterygium) adhering directly to the plate.
- Shape the free edge in one fluid direction using an etched glass file. Never saw back and forth.
- Lightly remove surface shine using a 240-grit buffer block. Do not thin down the natural plate.
- Thoroughly scrub each nail plate with a lint-free wipe saturated with 70% alcohol to dehydrate and remove oil residues.
Step 2: Base Foundation Application
Apply a micro-thin layer of base coat, keeping a 1mm gap between the product and your skin. Brush down the free edge to cap the tip. Cure under your LED lamp for 30–60 seconds according to manufacturer specifications.
Step 3: Core Technique & Polish Layering
Now proceed with the signature technique for how to get perfect white french tips at home. The golden rule of professional nail artistry is that two paper-thin coats will always cure harder, smoother, and flatter than one thick coat.
Rest your pinky finger on your work surface for stability. Anchor your hand to eliminate trembling when drawing precision lines or guiding specialized tools. If working with gel, flash-cure each finger for 10 seconds immediately after painting to freeze the smile line or pattern before gravity causes self-leveling distortion.
Step 4: Top Coat Sealing & Polymerization
Once your design is complete, float a generous drop of non-wipe top coat over the center of the nail plate. Gently pull the brush toward the tip without pressing down firmly, allowing surface tension to create a glassy, reflection-perfect apex.
Perform a full 60-second cure under your LED lamp. Allow the freshly cured nails to cool for 60 seconds before applying nourishing cuticle oil around the eponychium.
Common Mistakes & Pro Troubleshooting
- Wrinkling polish: Caused by applying layers too thickly, preventing UV rays from penetrating through the base. Always apply sheerer coats.
- Chipping at the tips: Occurs when the free edge was not properly capped with base and top coat.
- Lifting near cuticles: Happens if polish touched the eponychium skin or if invisible cuticle residue was left on the plate during prep.
Safe Removal & Plate Health
Never peel, pry, or scrape cured enhancements off the nail bed. Doing so rips away the dorsal layers of natural keratin, leaving nails thin and sensitive. File through the top coat seal with a 100-grit file, soak cotton pads in 100% pure acetone, wrap each finger in aluminum foil for 12–15 minutes, and gently slide the softened product off with an orangewood stick.
Products & Tools for This Look
Achieving a salon-grade finish relies heavily on the right brush density, chrome powder micron size, and curing lamps. These tools are editorially recommended to recreate this look:
Precision Detail & Ultra-Fine Nail Liner Brushes (Set of 5)
Essential for painting razor-thin micro French smile lines, delicate swirl art, and geometric striping with clean control.
Ultra-Fine Pearl White Chrome Powder with Sponge Applicators
Creates the iconic Hailey Bieber glazed donut luster. Rubs smoothly over cured non-wipe gel top coat to produce an iridescent pearlescent sheen.
Reflective Mirror Silver & Metallic Chrome Nail Powder
Produces a liquid-metal, molten silver finish when applied over a cured non-wipe gel top coat. Ideal for futuristic French tips and chrome accents.
Affiliate Notice: As an Amazon Associate I earn from qualifying purchases. When you click our links and make a purchase on Amazon.com, we may receive a small commission that supports our free editorial guides.
Nail Health & Gel Safety Guidelines
Always cure gel products thoroughly according to lamp wattage to prevent uncured contact dermatitis. Avoid letting wet gel pool on surrounding cuticle tissue. Never scrape or force cured enhancement removal—always soak in pure acetone with gentle buffing to safeguard natural keratin strength.