
How to Do Blooming Gel Rose-Quartz Marble Nails Step-by-Step
Real rose-quartz and marble nails look luminous because they have depth—soft, blurry veins buried underneath sharper surface cracks. Blooming gel makes achieving that natural organic dispersion remarkably intuitive: when you draw a thin wavy line onto a wet slip layer of blooming gel, the pigment gently feathers outward on its own like watercolor ink on damp paper.
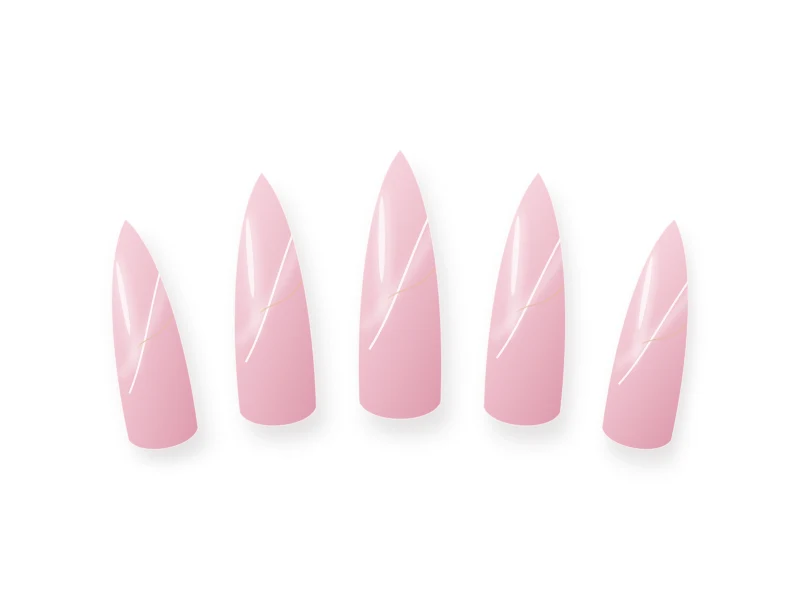
Overview of the Nail Design
The key to refined marble (rather than muddy swirls) is working in two distinct depth layers: one soft bloomed background vein layer sealed beneath a sheer milky wash, followed by crisp un-bloomed hairline accents on top.
Generic Tools and Materials Needed
You only need standard, generic manicure tools to practice this technique cleanly:
- 180/240-grit file, wooden cuticle stick, lint-free wipes, and alcohol
- UV/LED nail lamp
- Gel base coat, blooming gel, and glossy top coat
- Translucent blush pink (rose-quartz jelly) and milky-white gel
- Opaque bright white gel paint and a 9mm fine liner brush
- Optional subtle champagne shimmer accent and cuticle oil
Nail Preparation
- Shape and prep cuticles cleanly, buff lightly, and cleanse with isopropyl alcohol.
- Work one to two nails at a time once you apply blooming gel so you control exactly how far the veins spread before flash-curing.
Step-by-Step Instructions
-
Step 1
Lay Down a Translucent Rose-Quartz Base
Apply gel base coat and cure. Brush on two thin coats of translucent jelly blush pink and cure fully—sheer rosy depth is what gives rose-quartz nails their gemstone realism.
-
Step 2
Apply a Thin, Even Wet Layer of Blooming Gel
Brush a whisper-thin coat of clear blooming gel over one nail. Do not cure it. Too much blooming gel makes veins spread too fast and turn blurry; a thin slip layer keeps organic edges soft yet recognizable.
-
Step 3
Sketch Irregular Diagonal Veins
Load your 9mm liner brush lightly with milky white and draw one main irregular diagonal squiggle from upper left toward lower right, letting your hand wiggle naturally (real stone never has ruler-straight lines). Add two tiny branching tributaries.
-
Step 4
Wait 6 to 10 Seconds and Flash-Cure
Watch the white lines softly blossom outward into smoky translucent clouds. The moment the feathering looks airy and balanced, flash-cure for 15 seconds to freeze the dispersion.
-
Step 5
Create Gemstone Depth with a Sheer Jelly Veil
Brush one ultra-thin layer of translucent blush pink over the cured bloomed veins and cure. This immediately pushes the first marble veins deep inside the nail like real crystal.
-
Step 6
Add Crisp Un-Bloomed Surface Cracks and Seal
Without blooming gel, trace one whisper-thin sharp white hairline along part of your original diagonal vein, cure fully, and seal with a smooth high-gloss top coat.
Beginner-Friendly Tips
- Don't overfill the nail with veins—leaving 60% of the translucent pink base untouched makes the marble look high-end and gemstone-like.
- Vary vein direction slightly across different fingers so the set looks naturally carved rather than stamped identically.
Common Mistakes to Avoid
- Applying blooming gel too thickly, which causes veins to melt into a solid milky cloud within two seconds.
- Drawing thick symmetrical stripes instead of irregular, tapering organic branches.
Troubleshooting & Professional Finishing
- Marble looks muddy: Wipe the uncured blooming layer cleanly with alcohol before curing and start fresh with half as much blooming gel and a lighter touch of white.
- No depth: Don't skip the sheer jelly pink sandwich layer between your bloomed veins and crisp top hairline.
Finishing Technique
Finish with a glass-clear glossy top coat and nourish cuticles with oil so the rose-quartz sheen gleams from every angle.
Alternative Design Variations
- Calacatta Ivory Marble: Use milky white base with soft warm-gray and subtle gold-leaf veins.
- Tortoiseshell Amber: Use translucent amber jelly over blooming gel with espresso-brown and dark-chocolate organic spots.
Safety, Removal & Aftercare
Keep all uncured gel and blooming gel off the skin, and complete a full 60-second cure on all layers at the end. Remove safely by buffing the glossy seal and soaking in acetone foil wraps without prying.
Nail Care & Aftercare
Daily cuticle oil and protective gloves during cleaning keep layered gel art bright and chip-free.
Frequently Asked Questions
Can I use regular clear base coat instead of blooming gel?
Thin uncured gel base coat creates a mild softening effect, though dedicated blooming gel has a specialized surface tension that disperses pigment much more evenly and predictably.
Related Tutorials
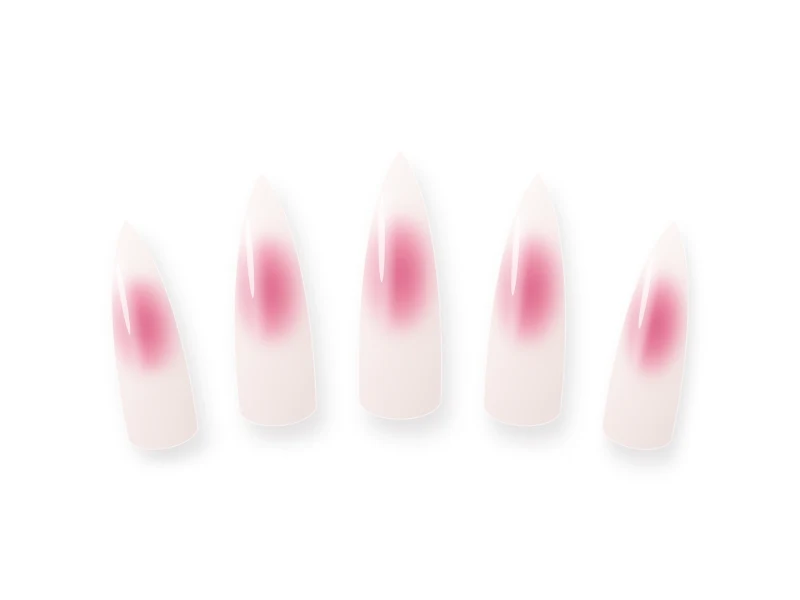
How to Create Pink Aura Nails Without an Airbrush
Achieve salon-grade airbrushed pink aura nails at home with zero special machinery—just a matte base, soft pigment stippling, and glass-gloss sealing.
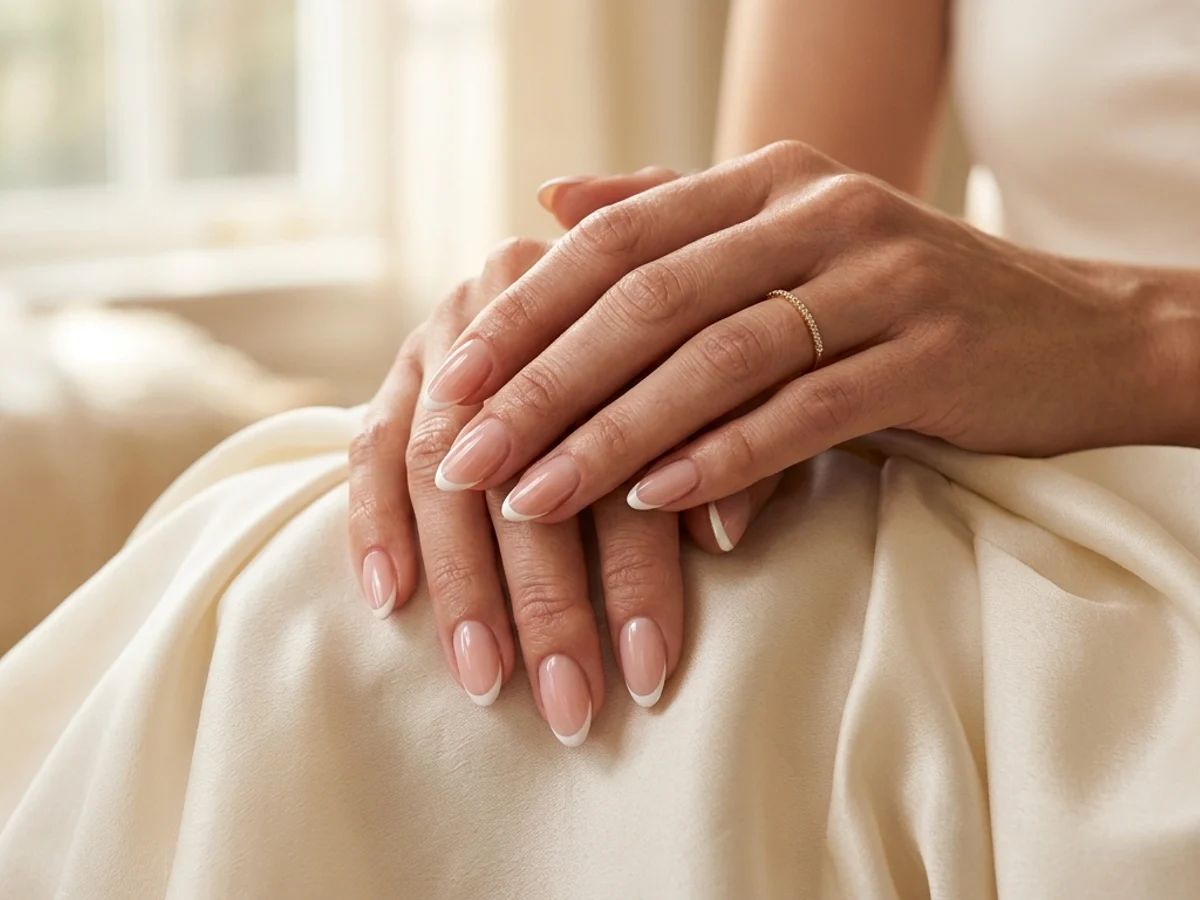
How to Create Micro French Tips: Crisp Hairline Smile Lines at Home
Master razor-thin 1mm French smile lines using a fine liner brush, sheer blush base balancing, and clean-up refinement for an effortlessly elongated manicure.
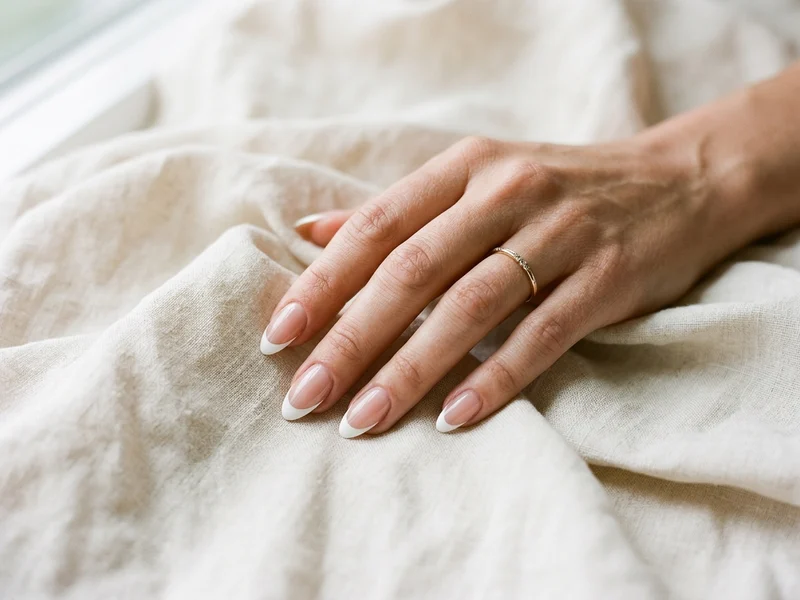
How to Create Classic White French Tips with Balanced Proportions
Learn the exact geometry behind timeless classic white French tips—from choosing a flattering sheer base to carving deep, symmetrical smile lines.