
How to Do Glazed Donut Nails at Home: Luminous Pearl Chrome Technique
Glazed donut nails earned permanent classic status for good reason: they combine the understated polish of a sheer milky manicure with a liquid mother-of-pearl glow that catches every shift of light. Yet many at-home attempts end up looking glittery, patchy, or peeling at the tips within two days. Every one of those frustrations comes down to three controllable technical variables: surface smoothness, no-wipe top coat cure timing, and free-edge sealing.
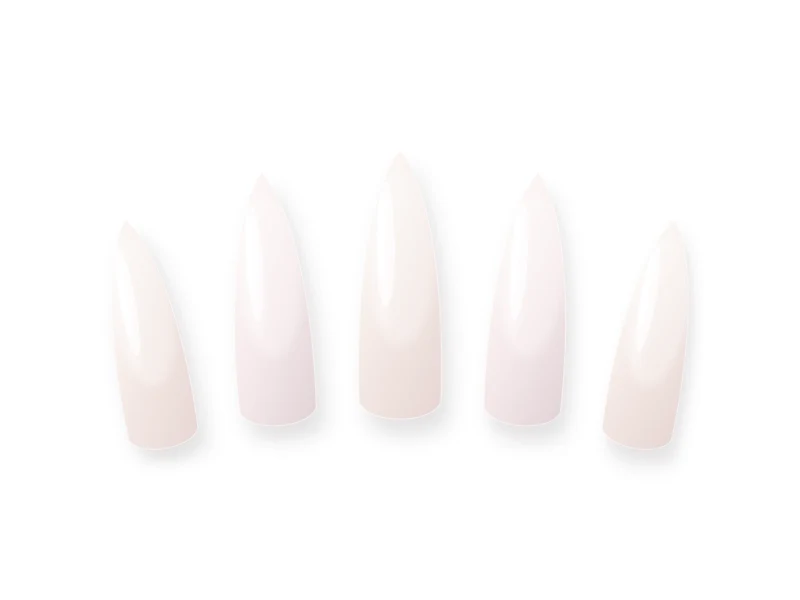
Overview of the Nail Design
A true glazed donut finish uses ultra-fine translucent white-pearl chrome powder burnished over a sheer milky-white or sheer blush base. Unlike opaque silver mirror chrome, translucent pearl pigment lets the soft neutral base shine through while adding a glassy opalescent veil.
Generic Tools and Materials Needed
You only need standard, generic manicure tools to practice this technique cleanly:
- 180/240-grit nail file and smooth fine buffer
- Wooden cuticle stick, lint-free wipes, and 90% isopropyl alcohol
- UV/LED nail lamp (matched to your gel system)
- Gel base coat and a dedicated no-wipe glossy gel top coat
- Sheer milky-white or translucent blush-pink gel shade
- Ultra-fine translucent white-pearl chrome powder
- Clean eyeshadow sponge applicator or silicone chrome tool, plus a soft fluffy dusting brush
- Botanical cuticle oil
Nail Preparation
- Perform dry cuticle prep and shape your nails smoothly. Because chrome reflects light directly off the nail surface, even tiny dust specks or ridges will show.
- Buff the natural nail plate lightly to remove shine—never over-file—and cleanse with alcohol on a lint-free pad.
- Wipe your workspace clean of filing dust before opening any gel bottles.
Step-by-Step Instructions
-
Step 1
Apply a Self-Leveling Base Coat
Brush on a smooth, thin layer of gel base coat, making sure the surface levels evenly with zero bumps or dust fibers. Keep a clean margin from the skin and cure fully.
-
Step 2
Layer Sheer Milky White or Blush Pink
Apply one to two thin coats of translucent milky white (for classic icy glaze) or sheer blush pink (for strawberry glaze). Float the brush lightly so the coat stays streak-free, and cure each layer completely.
-
Step 3
Flash-Cure Your No-Wipe Top Coat (The Critical Step)
Apply an ultra-smooth, thin coat of no-wipe glossy gel top coat. Instead of curing for a full 60 seconds, flash-cure for 20 to 30 seconds (exact timing varies slightly by lamp wattage). The surface should feel completely dry to the touch yet still have microscopic grip so the pearl powder burnishes into a mirror rather than sliding off.
-
Step 4
Burnish Ultra-Fine Pearl Chrome Powder
Pick up a tiny amount of white-pearl chrome powder on a clean sponge applicator or silicone tool. Press and rub gently in small circular motions across the entire nail until the powder transforms from dusty shimmer into a smooth glazed mirror. Dust away loose excess around the cuticles with a soft fluffy brush.
-
Step 5
Lock In the Free Edge Against Tip Wear
This salon trick stops chrome from peeling: gently pass a 240-grit file once across the very tip edge of the nail to remove microscopic chrome from the edge itself, then brush a whisper-thin layer of gel base coat over the nail and cap the free edge. Cure for 30 to 60 seconds.
-
Step 6
Seal with Your Final High-Gloss Top Coat
Apply a clean final layer of no-wipe glossy top coat (using a separate bottle or wiping the brush carefully on a lint-free pad between nails so stray chrome particles don't contaminate your bottle). Cure fully for 60 seconds, then apply cuticle oil.
Beginner-Friendly Tips
- Use far less chrome powder than you think—a tiny tap on the lid of the jar is enough for two to three nails.
- If your chrome looks sparkly like fine glitter instead of smooth pearl, the powder grain is too coarse or the top coat was over-cured.
Common Mistakes to Avoid
- Using a regular tacky-layer top coat instead of a no-wipe top coat, which makes chrome clump.
- Skipping the thin base-coat sandwich layer before the final top coat, causing the top coat to peel cleanly off the slick chrome surface.
- Curing for a full 60–90 seconds before rubbing chrome, leaving the surface too slick for pigment to adhere.
Troubleshooting & Professional Finishing
- Chrome won't stick evenly: Wipe the nail with alcohol, apply a fresh thin coat of no-wipe top coat, and reduce your flash-cure time by 10 seconds.
- Dust bumps under the glaze: Keep your manicure table wiped clean and never dust filing debris near open gel bottles.
Finishing Technique
Inspect the nails under bright directional light before your final cure to ensure the pearl glaze wraps smoothly from sidewall to sidewall without dull spots near the cuticles.
Alternative Design Variations
- Chocolate Glazed Donut: Apply sheer warm-brown or espresso base under gold-pearl chrome for an autumn-ready sheen.
- Strawberry Glazed Nails: Layer sheer jelly pink beneath white-pearl chrome for a luminous rosy glow.
- Glazed French Tips: Buff pearl chrome over a finished micro French manicure for subtle dimensional shine.
Safety, Removal & Aftercare
Avoid inhaling airborne chrome powder—tap your applicator gently inside the jar and work in a calm, ventilated space without a fan blowing powder directly into the air. Keep uncured gel strictly off the skin and cure every layer fully. Remove safely by gently buffing the top seal and soaking in acetone foil wraps for 10 to 15 minutes before lifting softened gel with a wooden stick.
Nail Care & Aftercare
Daily cuticle oil keeps the surrounding skin supple and prevents lifting around the sidewalls. Wear gloves during cleaning or dishwashing to protect the mirror gloss.
Frequently Asked Questions
Can you do glazed donut nails with regular air-dry polish?
While true mirror chrome bonds best to flash-cured no-wipe gel top coat, you can achieve a soft glazed effect with regular polish by applying a sheer milky base followed by a translucent iridescent pearl-shimmer lacquer top coat.
Why does my chrome manicure peel at the tips after two days?
Chrome powder forms a slick barrier between layers. Gently filing the very free edge after rubbing chrome and sealing with a thin layer of base coat before your final top coat gives the top seal a strong grip.
Related Tutorials
How to Create Micro French Tips: Crisp Hairline Smile Lines at Home
Master razor-thin 1mm French smile lines using a fine liner brush, sheer blush base balancing, and clean-up refinement for an effortlessly elongated manicure.
How to Create Classic White French Tips with Balanced Proportions
Learn the exact geometry behind timeless classic white French tips—from choosing a flattering sheer base to carving deep, symmetrical smile lines.
How to Create Magnetic Cat-Eye and Velvet Nails: Magnet Angles Explained
Decode neodymium magnet angles to sculpt crisp diagonal cat-eye beams, plush all-over velvet shimmer, and luminous glass-bead magnetic manicures.