Short Nail Manicure Guide: Shaping, Proportions & Chip-Proof Techniques
Short nails are endlessly practical, comfortable for typing and daily routines, and unmistakably chic when shaped and painted with intention. The biggest misconception about short manicures is that they require less precision than long extensions. In reality, small adjustments—like softening square corners, leaving a tiny clean sidewall frame, and capping the free edge cleanly—transform short nails from hasty to editorial.
Overview of the Nail Design
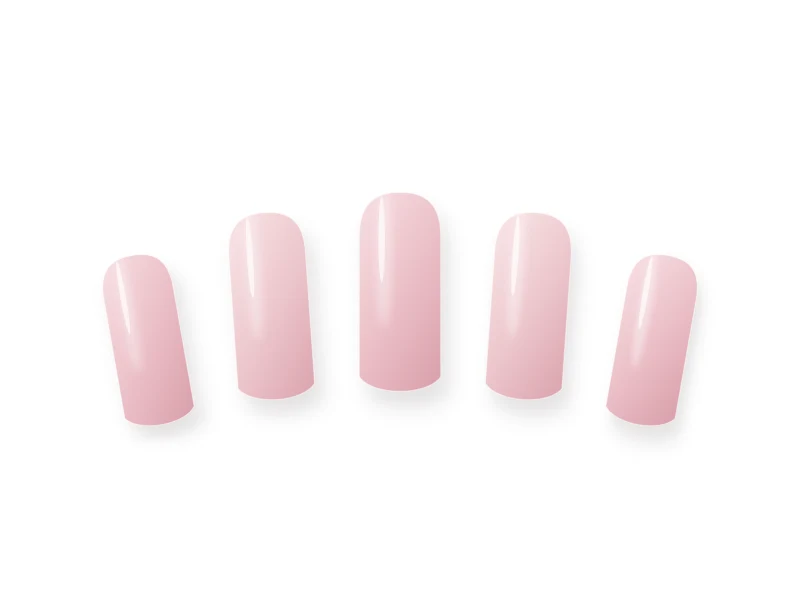
This guide walks through proportion-smart shaping, thin application mechanics that stop short-nail tip chipping, and three refined design approaches that naturally elongate a compact nail plate.
Generic Tools and Materials Needed
You only need standard, generic manicure tools to practice this technique cleanly:
- Fine 240-grit or crystal glass nail file
- Wooden cuticle stick, lint-free wipes, and isopropyl alcohol
- Flexible base coat suited to natural nails
- Sheer blush, soft neutral, or saturated editorial shade
- Optional fine dotting tool or 7mm liner brush for minimal accents
- Quick-dry glossy top coat and cuticle oil
Nail Preparation
- Decide on your anchor length using your shortest nail so all ten nails feel cohesive.
- Choose your silhouette: short squoval (straight front edge with gently rounded corners) is the strongest, most universally flattering short shape, while short round follows the fingertip naturally for zero snagging.
- Gently push back cuticles to visually reveal 1mm to 2mm of extra nail bed length—this single step makes short nails look noticeably longer.
Step-by-Step Instructions
-
Step 1
Dehydrate and Apply a Flexible Base Coat
Swipe every nail with isopropyl alcohol on a lint-free wipe. Apply one thin coat of base coat, lightly brushing horizontally along the very free edge to seal the tip without getting polish on the skin beneath the nail.
-
Step 2
Use the Sidewall Framing Illusion
When applying your color coats, leave a whisper-thin, barely perceptible 0.5mm clean margin along both sidewalls. This subtle vertical framing makes narrow or wide short nails immediately appear sleeker and longer.
-
Step 3
Keep Every Coat Paper-Thin
Short nails flex frequently during daily tasks. Thick polish layers crack and lift quickly when the nail flexes, whereas two thin, even coats move with the natural nail plate and cure or dry solidly.
-
Step 4
Add Proportion-Smart Minimalist Detail (Optional)
If adding nail art, choose vertical or hairline elements: a single micro cuticle dot centered at the base, a 0.8mm micro French tip, or a whisper-thin diagonal metallic ribbon. Avoid wide horizontal stripes that visually cut the nail in half.
-
Step 5
Cap the Free Edge Cleanly with Top Coat
Brush glossy top coat across the surface and glide the very tip of the brush lightly across the free edge. If a speck of polish touches the fingertip skin on very short nails, wipe it cleanly with a wooden stick wrapped in a lint-free wipe before it dries or cures.
Beginner-Friendly Tips
- If your nails are clipped right to the fingertip skin, tuck a tiny piece of folded parchment paper gently beneath the free edge while capping to keep skin spotless.
- Glossy sheer blushes, muted rose, soft sage, and deep burgundy all look exceptionally refined on short lengths.
Common Mistakes to Avoid
- Filing deep notches into the corners of short square nails, which creates weak snag points.
- Skipping cuticle pushing, leaving excess dry cuticle covering the lower nail bed and making nails look shorter than they are.
Troubleshooting & Professional Finishing
- Tips chip within 48 hours: Ensure nails are completely dry before polishing, swipe with alcohol to remove natural oils, and keep color coats thin.
- Polish floods the fingertip skin: Wipe excess polish off one side of the brush stem against the bottle neck before each stroke.
Finishing Technique
Once dry or cured, run a light drop of cuticle oil along the nail fold and fingertips to keep short manicures looking fresh and studio-groomed.
Alternative Design Variations
- Short Glossy Burgundy: Deep wine polish on neatly filed short squoval nails is a timeless editorial statement.
- Short Pearl Chrome: Buff translucent white-pearl glaze over sheer blush for luminous short-nail shine.
- Single Micro Cuticle Dot: Place one tiny gold or ivory dot 2mm above the cuticle center on a sheer base.
Safety, Removal & Aftercare
If using gel on very short nails, be extra careful not to get uncured gel onto the hyponychium (the skin right under the free edge) when capping—wipe any accidental skin contact immediately with alcohol before curing. Remove lacquer or gel gently without scraping.
Nail Care & Aftercare
Apply cuticle oil daily and avoid using short manicured nails to scrape stickers or pry lids open.
Frequently Asked Questions
What nail shape makes short fingers look longest?
Short oval and soft squoval gently elongate the fingers without needing extra length. Pushing back cuticles neatly also adds visible nail-bed proportion.
Do dark colors look good on short nails?
Yes—deep burgundy, espresso brown, navy, and glossy black actually look more modern and tailored on short, neat nails than on very long lengths.
Related Tutorials
How to Create Micro French Tips: Crisp Hairline Smile Lines at Home
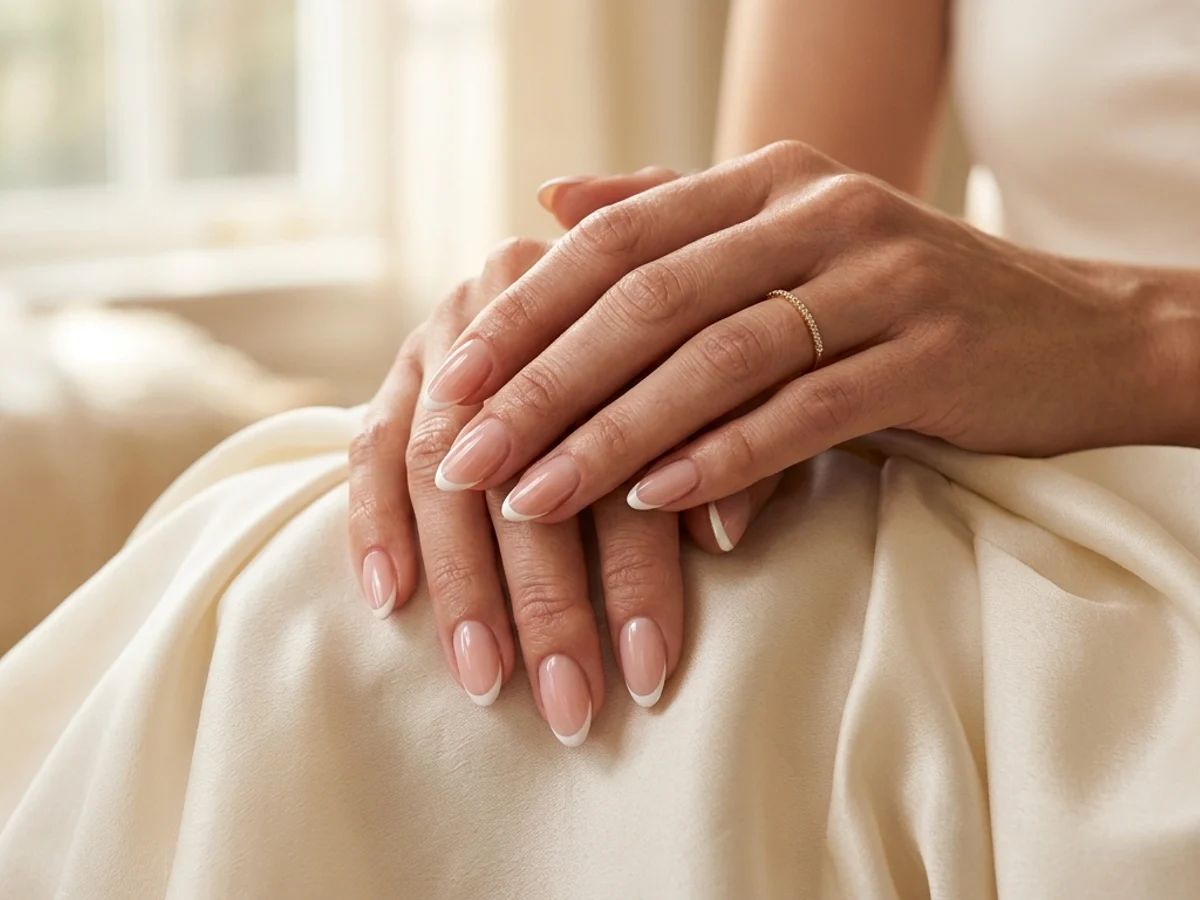
Master razor-thin 1mm French smile lines using a fine liner brush, sheer blush base balancing, and clean-up refinement for an effortlessly elongated manicure.
How to File Almond and Squoval Nail Shapes Symmetrically at Home
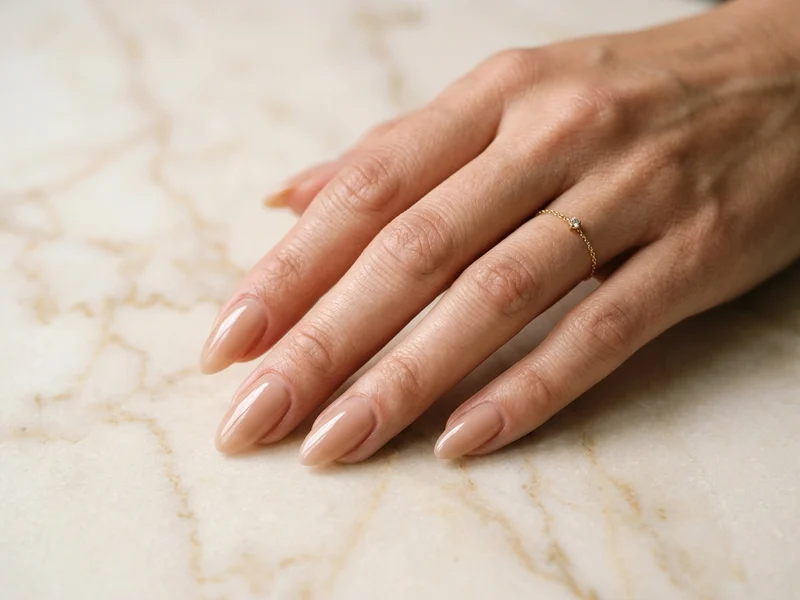
Stop crooked tips and sidewall breaks by mastering grit selection, center-axis mapping, and three-angle symmetry checks for almond and squoval silhouettes.
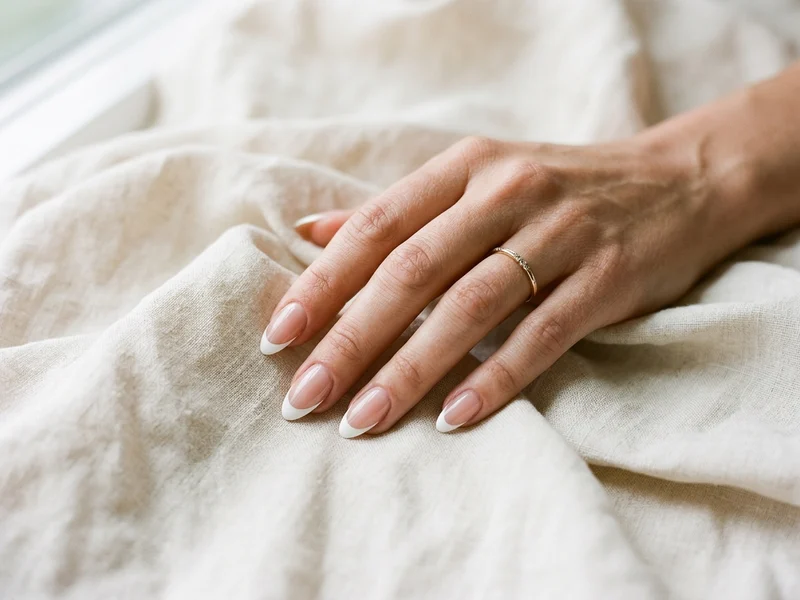
How to Create Classic White French Tips with Balanced Proportions
Learn the exact geometry behind timeless classic white French tips—from choosing a flattering sheer base to carving deep, symmetrical smile lines.