
Complete Natural Nail Care & Cuticle Routine: Building Resilient Nails Safely
Healthy natural nails are the quiet foundation behind every lasting manicure. When nails peel, split at the corners, or chip within a day of polishing, the cause is rarely mysterious—it almost always comes down to excess water exposure, mechanical stress, aggressive cuticle cutting, or dry keratin layers. Adopting a calm, consistent natural nail routine transforms nail resilience over a single growth cycle (roughly 3 to 4 months).
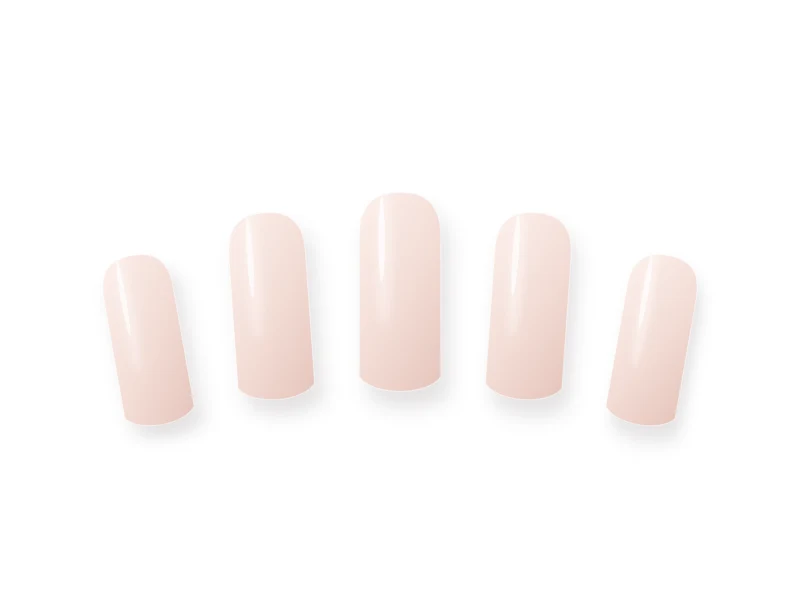
Overview of the Nail Design
This educational guide explains nail plate anatomy in plain language—including the critical difference between living proximal nail fold skin and non-living cuticle—and lays out a safe weekly and daily care rhythm.
Generic Tools and Materials Needed
You only need standard, generic manicure tools to practice this technique cleanly:
- Fine 240-grit or etched crystal glass nail file
- Wooden cuticle stick (orangewood stick)
- Gentle non-harsh cuticle softener (optional)
- Lightweight botanical cuticle oil (such as jojoba-rich oil)
- Fragrance-free hand moisturizer and household dishwashing gloves
Nail Preparation
- Understand anatomy first: the soft band of living skin framing the base of your nail is the proximal nail fold—it seals out bacteria and protects the nail matrix. The true cuticle is only the thin, invisible layer of dead skin shed onto the hard nail plate itself.
- Never cut or nip living proximal nail fold skin; only gently push it back and lift dead cuticle residue off the nail plate.
Step-by-Step Instructions
-
Step 1
Protect Nails from Excess Water Swelling
Natural nail plates are porous—they absorb water rapidly, swell, and then contract as they dry. Repeated swelling weakens the keratin layers and causes tip peeling. Wear lined gloves when washing dishes, cleaning, or gardening.
-
Step 2
Hydrate Daily with Penetrating Botanical Oil
Apply a single drop of lightweight oil (jojoba oil closely mimics natural skin sebum) across the nail fold, sidewalls, and even the underside of the free edge at least once or twice daily. Hydrated nails stay supple so they flex lightly under pressure instead of snapping cleanly.
-
Step 3
Groom Cuticles Gently Once a Week
Right after a warm shower (when skin is soft), wrap a clean cotton pad or soft towel around your fingertip and gently nudge the proximal nail fold back. Use a wooden stick with light, flat pressure to sweep away loose dead cuticle from the nail plate—never dig downward into the nail matrix.
-
Step 4
File Smoothly with a 240-Grit or Glass File
Keep free edges slightly rounded (round, oval, or squoval) to eliminate sharp corners that catch on clothing. File in smooth, gentle strokes using a fine 240-grit or crystal glass file to seal the edge cleanly.
-
Step 5
Use Gentle, Non-Destructive Polish Removal
Never pick, peel, or pry chipped polish or gel off your nails—every peeled chip lifts microscopic sheets of healthy natural keratin along with it. Always saturate a cotton pad, hold briefly to dissolve polish cleanly, wash hands, and oil immediately afterward.
-
Step 6
Keep Tools Clean and Inspect Nail Health
Wash glass files and metal tools with warm soapy water and sanitize with 70% isopropyl alcohol after each use. If you notice persistent discoloration, separation of the nail plate, pain, or swelling, pause all cosmetic products and consult a qualified healthcare professional or dermatologist.
Beginner-Friendly Tips
- Keep a small cuticle oil pen beside your keyboard or nightstand—consistency matters far more than expensive routines.
- Always treat your nails as jewels, not tools: use a spoon or key to open pull-tabs, pry packages, or scrape stickers.
Common Mistakes to Avoid
- Soaking hands in warm soapy bowls for 15 minutes right before painting—trapped water under polish causes immediate lifting once the nail dries.
- Over-using harsh chemical nail hardeners on already brittle nails, which makes them rigid and prone to snapping rather than flexible.
- Buffing the natural nail surface shiny every week, which gradually thins the keratin plate.
Troubleshooting & Professional Finishing
- Peeling layers at the tips: Switch to a crystal glass file, avoid soaking nails in water, apply cuticle oil morning and night, and keep nails slightly shorter until the damaged tips grow out cleanly.
- Dry, ragged hangnails: Never pull or bite hangnails. Gently snip only the loose dead tip cleanly with sanitized nippers and seal with cuticle oil.
Finishing Technique
Even completely bare natural nails look luminous and refined when edges are evenly shaped, cuticles are calm, and a drop of botanical oil is massaged gently into the nail bed.
Alternative Design Variations
- Bare Glossy Recovery Week: Give nails a breathable break with daily cuticle oil and gentle weekly filing.
- Protective Sheer Manicure: Wear one coat of ridge-filling base + one sheer neutral coat to shield fragile growing tips from everyday bumps.
Safety, Removal & Aftercare
This guide is for cosmetic nail care education only and is not medical advice. Never apply cosmetic polish, glue, or gel over damaged, bleeding, swollen, or potentially infected nails.
Nail Care & Aftercare
Because a fingernail takes roughly 4 to 6 months to grow completely from matrix to free edge, commit to gentle water protection and daily oil for at least 8 weeks to see dramatic natural improvement.
Frequently Asked Questions
Do nails actually need to 'breathe' between manicures?
Nails are made of non-living keratin and receive nutrients from the bloodstream in the nail matrix—not from air. However, taking occasional breaks from harsh removers and aggressive filing gives dehydrated keratin layers a welcome chance to rehydrate with cuticle oil.
Why do my nails always split at the exact same side corner?
Repeated corner splits usually come from a sharp square corner catching on objects or over-filing into the lateral stress point. Softening the corner into a squoval or oval and oiling daily helps prevent repeat tears.
Related Tutorials
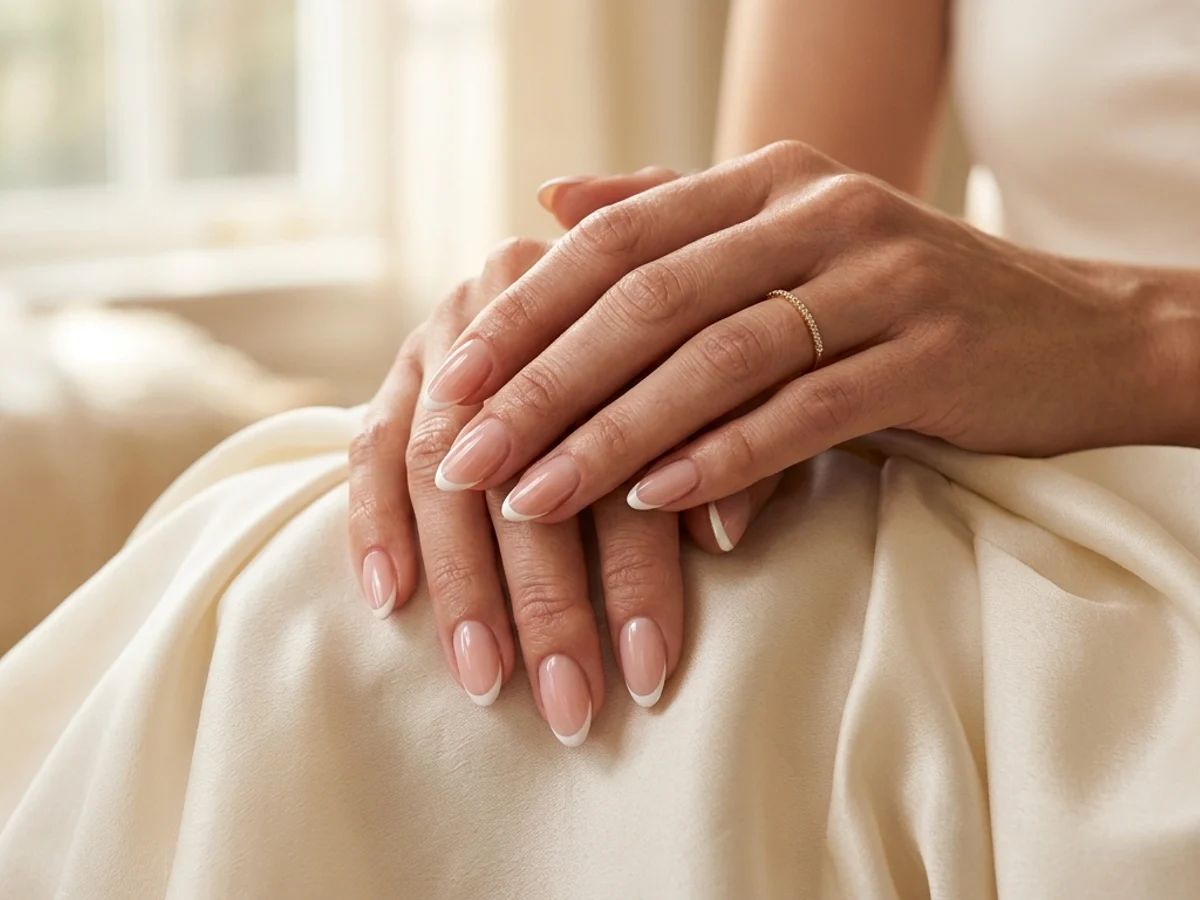
How to Create Micro French Tips: Crisp Hairline Smile Lines at Home
Master razor-thin 1mm French smile lines using a fine liner brush, sheer blush base balancing, and clean-up refinement for an effortlessly elongated manicure.
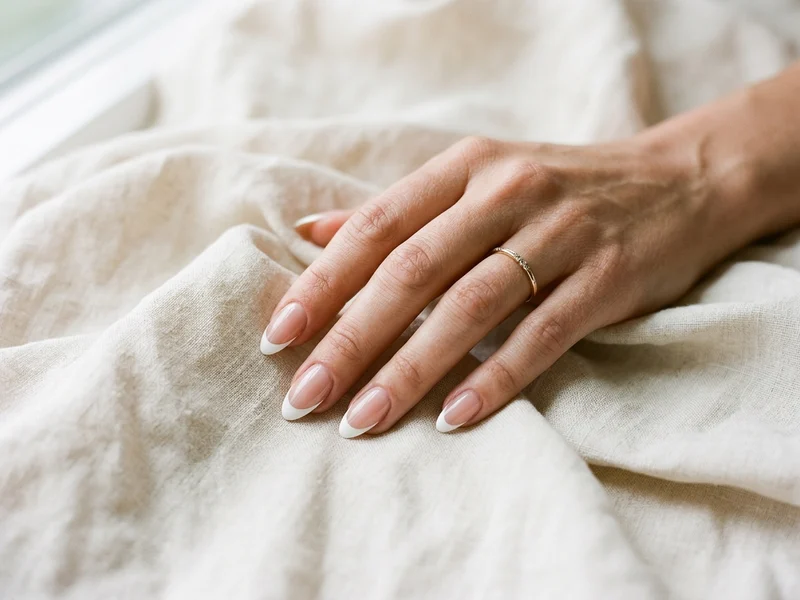
How to Create Classic White French Tips with Balanced Proportions
Learn the exact geometry behind timeless classic white French tips—from choosing a flattering sheer base to carving deep, symmetrical smile lines.
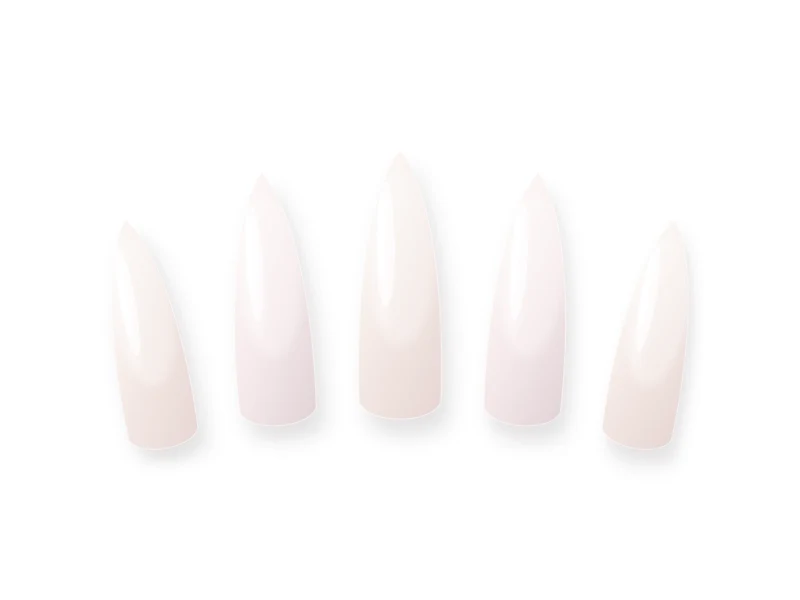
How to Do Glazed Donut Nails at Home: Luminous Pearl Chrome Technique
Unlock the mirror-smooth pearlescent sheen of glazed donut nails with precise flash-cure timing, dust-free prep, and chip-proof chrome edge sealing.