
How to Apply Glossy Burgundy and Dark Nail Colors with Salon Precision
Deep burgundy, oxblood, bittersweet chocolate, and obsidian black are timeless editorial power shades—yet they leave zero room for messy edges. A single flooded sidewall shows dramatically against bare skin, and thick dark gel coats can easily under-cure underneath. Mastering the push-back brush stroke and clean-up refinement makes dark manicures look effortlessly salon-tailored.
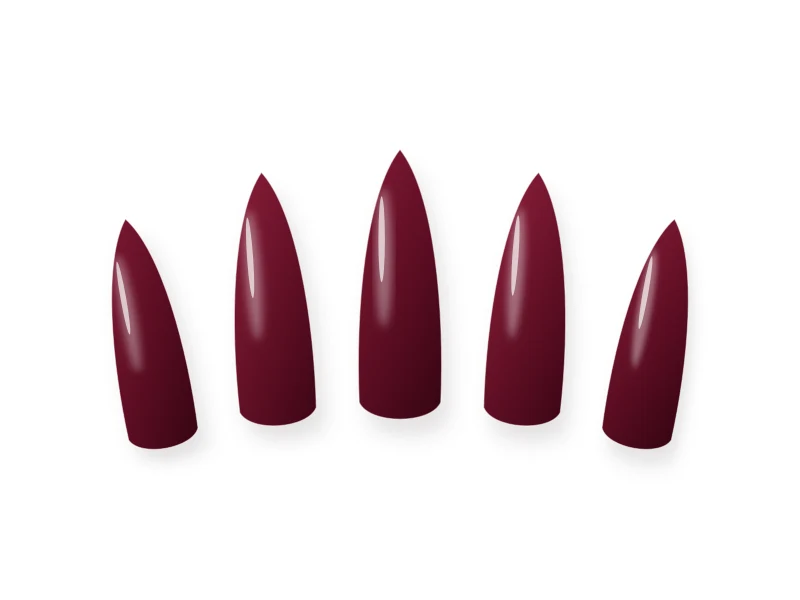
Overview of the Nail Design
Learn the exact brush loading, cuticle-curve placement, thin curing safety rules, and crisp clean-up technique that make dark colors look like liquid glass.
Generic Tools and Materials Needed
You only need standard, generic manicure tools to practice this technique cleanly:
- 180/240-grit file, wooden cuticle stick, lint-free wipes, and isopropyl alcohol
- Stain-preventing base coat
- Deep burgundy, wine, navy, espresso, or black polish or gel
- Small flat or oval clean-up brush
- High-gloss mirror top coat and botanical cuticle oil
Nail Preparation
- Ensure cuticles are completely smooth and free of dry hangnails—dark polish immediately catches on rough skin.
- Never skip base coat under dark red, burgundy, navy, or black shades; base coat creates a protective barrier that prevents natural nail staining.
Step-by-Step Instructions
-
Step 1
Apply a Protective Base Coat
Coat the nail thinly from cuticle margin to capped free edge and let set or cure completely. This prevents deep red and wine pigments from yellowing the natural nail plate.
-
Step 2
Master the Push-Back Cuticle Stroke
Wipe excess dark polish from one side of the brush against the bottle neck. Touch the brush down about 2mm away from the cuticle, gently nudge it backward toward the cuticle until a crisp 0.5mm margin remains, then sweep straight toward the free edge.
-
Step 3
Paint Two Paper-Thin Coats (Essential for Dark Gel Safety)
Dark pigments absorb UV/LED light rapidly. Applying two whisper-thin coats (even if the first coat looks slightly sheer wine-colored) guarantees full curing from top to bottom with zero wrinkling or uncured soft spots.
-
Step 4
Crisp the Edges with a Clean-Up Brush
Before curing gel (or right after painting lacquer), dip a small flat clean-up brush into alcohol (for gel) or remover (for lacquer), blot on a lint-free pad so it is barely damp—never dripping—and trace cleanly along the cuticle and sidewalls.
-
Step 5
Seal with Glass Gloss and Cap the Tip
Dark manicures show even microscopic tip wear quickly. Cap the free edge gently with your glossy top coat and cure or dry thoroughly for an unbroken liquid-wine mirror shine.
Beginner-Friendly Tips
- When painting dark shades on your dominant hand, rotate the finger slightly beneath your steady brush rather than twisting your wrist awkwardly.
- A curved flat clean-up brush is the single highest-impact tool for making dark at-home manicures look editorial.
Common Mistakes to Avoid
- Skipping base coat, leaving yellow-orange staining after removing burgundy or red polish.
- Applying one thick coat of black or oxblood gel, which cures only on the top skin and ripples underneath.
Troubleshooting & Professional Finishing
- Wrinkled dark gel after curing: The coat was too thick or the lamp wattage is low. Remove the wrinkled layer completely, thin your coats significantly, and cure a full 60 seconds per coat.
- Stained cuticles during removal: Swipe downward from cuticle to tip rather than scrubbing circularly across the skin.
Finishing Technique
Wait until lacquer is completely dry—or gel is fully cured—before applying cuticle oil, which contrasts beautifully against deep glossy burgundy.
Alternative Design Variations
- Velvet Matte Burgundy: Swap glossy top coat for a velvety matte finish, optionally adding a hairline glossy burgundy French tip.
- Burgundy Jelly Gloss: Layer sheer wine jelly over a soft neutral base for translucent cherry-glass depth.
Safety, Removal & Aftercare
Always cure dark gels in thin coats for the full recommended time; uncured gel trapped beneath a cured surface is a common trigger for skin irritation and acrylate allergies. Remove dark regular polish by pressing a saturated cotton pad for 20 seconds and pulling straight off the free edge in one clean motion.
Nail Care & Aftercare
Reapply top coat mid-week on regular polish and wear gloves while washing dishes to preserve crisp dark tips.
Frequently Asked Questions
Why did my burgundy gel polish wrinkle in the lamp?
Dark pigments block light penetration. When a coat is too thick, the top cures and shrinks while the gel underneath stays liquid, causing ripples. Apply two very thin coats instead.
Related Tutorials
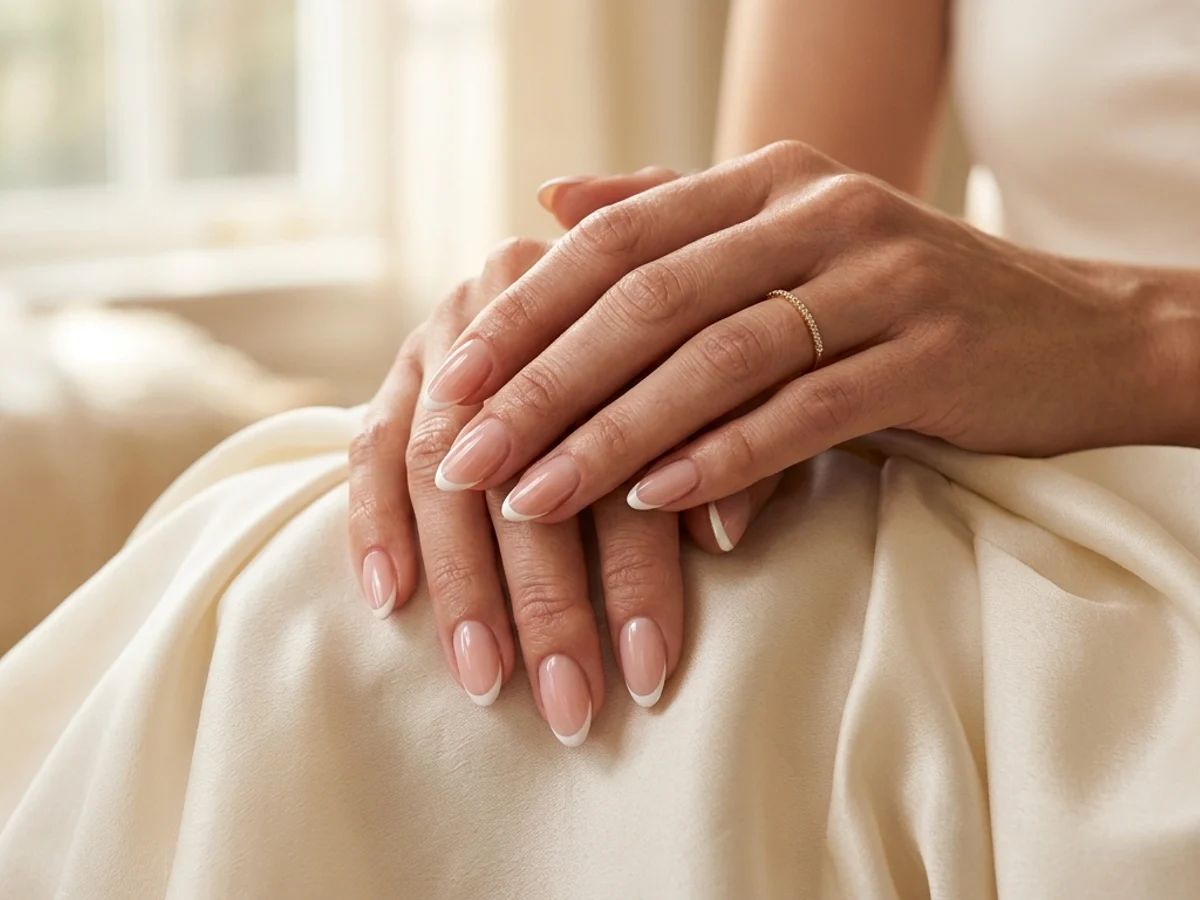
How to Create Micro French Tips: Crisp Hairline Smile Lines at Home
Master razor-thin 1mm French smile lines using a fine liner brush, sheer blush base balancing, and clean-up refinement for an effortlessly elongated manicure.
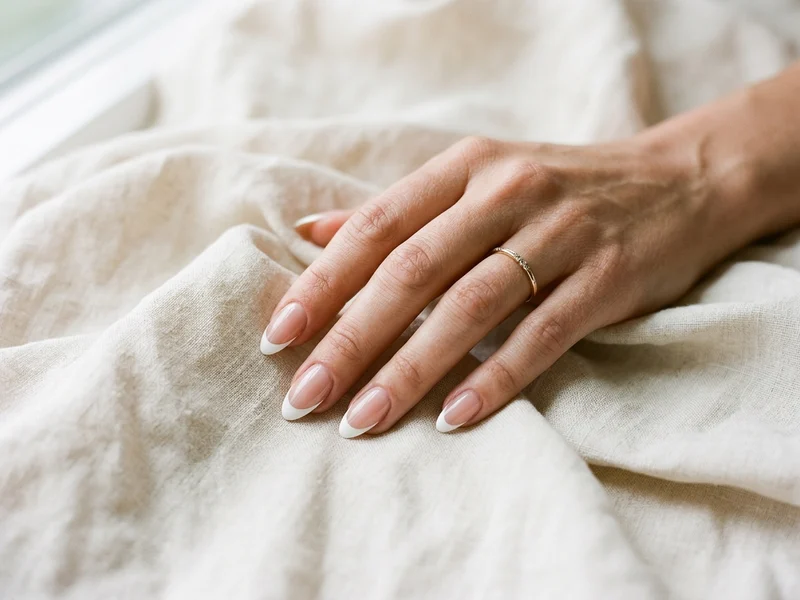
How to Create Classic White French Tips with Balanced Proportions
Learn the exact geometry behind timeless classic white French tips—from choosing a flattering sheer base to carving deep, symmetrical smile lines.
How to Do Glazed Donut Nails at Home: Luminous Pearl Chrome Technique
Unlock the mirror-smooth pearlescent sheen of glazed donut nails with precise flash-cure timing, dust-free prep, and chip-proof chrome edge sealing.