
How to Create Minimalist Negative-Space Fine Line Nail Art
Minimalist negative-space nail art looks deceptively refined: a sheer, healthy-looking nail plate punctuated by a single whisper-thin metallic ribbon, a crisp ivory arc, or a poised micro-dot. Because most of the nail remains open, every line counts—yet with proper brush length and hand stabilization, even beginners can paint smooth, confident lines without trembling.
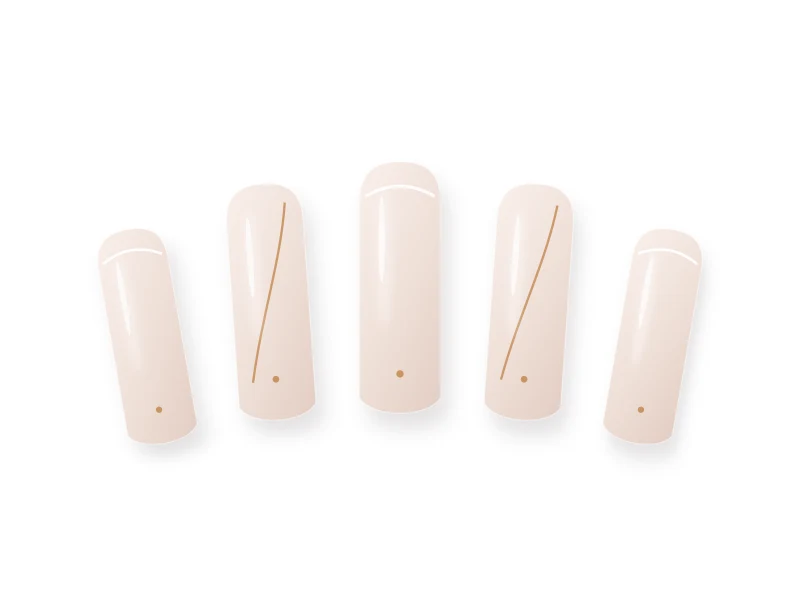
Overview of the Nail Design
Discover why longer liner bristles actually draw straighter lines than short brushes, how to balance asymmetrical designs across all ten fingers, and how to seal fine lines without smudging.
Generic Tools and Materials Needed
You only need standard, generic manicure tools to practice this technique cleanly:
- 180/240-grit file, wooden cuticle stick, lint-free wipes, and isopropyl alcohol
- Base coat and sheer neutral or clear-pink base shade
- 11mm to 15mm fine striping/liner brush and a small micro dotting stylus
- Pigmented gel paint or opaque lacquer in champagne gold, ivory, or deep espresso
- High-gloss top coat and cuticle oil
Nail Preparation
- Negative-space art puts the natural nail plate on display, so focus on gentle cuticle grooming and an ultra-clean, ridge-free base.
- Plan your visual rhythm across all five fingers before dipping your brush—for example, delicate vertical lines on the index and ring fingers paired with a tiny cuticle dot on the middle finger.
Step-by-Step Instructions
-
Step 1
Build a Clean Sheer Neutral Canvas
Apply base coat plus one translucent coat of sheer pink or neutral beige so the nail looks polished while keeping the airy negative-space aesthetic. Cure or allow to dry completely.
-
Step 2
Choose the Right Liner Length for Your Line
Counterintuitively, a longer 12mm to 15mm striping brush pulls smoother, straighter ribbons than a tiny stubby brush because the flexible bristles absorb micro-tremors in your hand.
-
Step 3
Coat the Bristles Evenly Without a Tip Blob
Place a small drop of pigment on a smooth palette and pull the entire length of the liner bristles through it gently, twirling slightly so there is no heavy bead sitting at the tip.
-
Step 4
Anchor Your Pinky and Glide—Don't Press
Rest your painting hand's pinky securely on your opposite hand or table. Let just the weight of the bristles kiss the nail plate and pull in one smooth, confident motion rather than sketching tiny choppy dashes.
-
Step 5
Add Optional Micro-Dot Balance
Dip the smallest tip of a dotting stylus lightly into pigment, tap once on your palette to regulate size, and touch gently straight down onto the nail (2mm above the cuticle center or beside a line) without twisting.
-
Step 6
Flash-Cure or Dry Thoroughly Before Floating Top Coat
If using gel, flash-cure each finished line for 10 seconds before moving on so you never accidentally smudge it. If using regular polish, let lines dry for 5 full minutes, then float a generous bead of top coat gently over the art so the brush bristles never touch and drag the line.
Beginner-Friendly Tips
- Exhale slowly while pulling a fine line—holding your breath actually tenses your wrist muscles and causes wobbles.
- Leaving two nails completely sheer with zero art makes the accented nails look intentionally editorial rather than busy.
Common Mistakes to Avoid
- Dragging a dry top-coat brush directly over regular-polish line art, smearing crisp lines.
- Pressing the liner brush flat against the nail, which splays the bristles and turns a hairline into a wide stripe.
Troubleshooting & Professional Finishing
- Line came out slightly thick: Gently clean along one side of the uncured gel line with a flat brush barely dampened in alcohol to razor-thin it before curing.
- Paint skips halfway through a stroke: Reload evenly along the full bristle length; your brush was too dry.
Finishing Technique
Clean your fine liner brush immediately afterward in a tiny drop of clear gel or gentle brush cleaner—never harsh acetone—and reshape the bristles to a fine point before capping.
Alternative Design Variations
- Floating Cuticle Arc: Trace a hairline metallic crescent 1.5mm above the lunula.
- Diagonal Ribbons: Pull two intersecting champagne and ivory curves across sheer milky nails.
Safety, Removal & Aftercare
Keep gel paint strictly on the nail plate and cure completely before applying top coat. Remove lacquer or gel gently with soaking rather than scraping.
Nail Care & Aftercare
Nourish cuticles daily so the open negative-space canvas continues looking pristine as the nail grows.
Frequently Asked Questions
How do I stop top coat from smearing regular-polish line art?
Wait at least 5 minutes for the art to dry, then load a slightly fuller bead of glossy top coat so the liquid glides across the nail without the brush bristles scraping the painted lines.
Related Tutorials
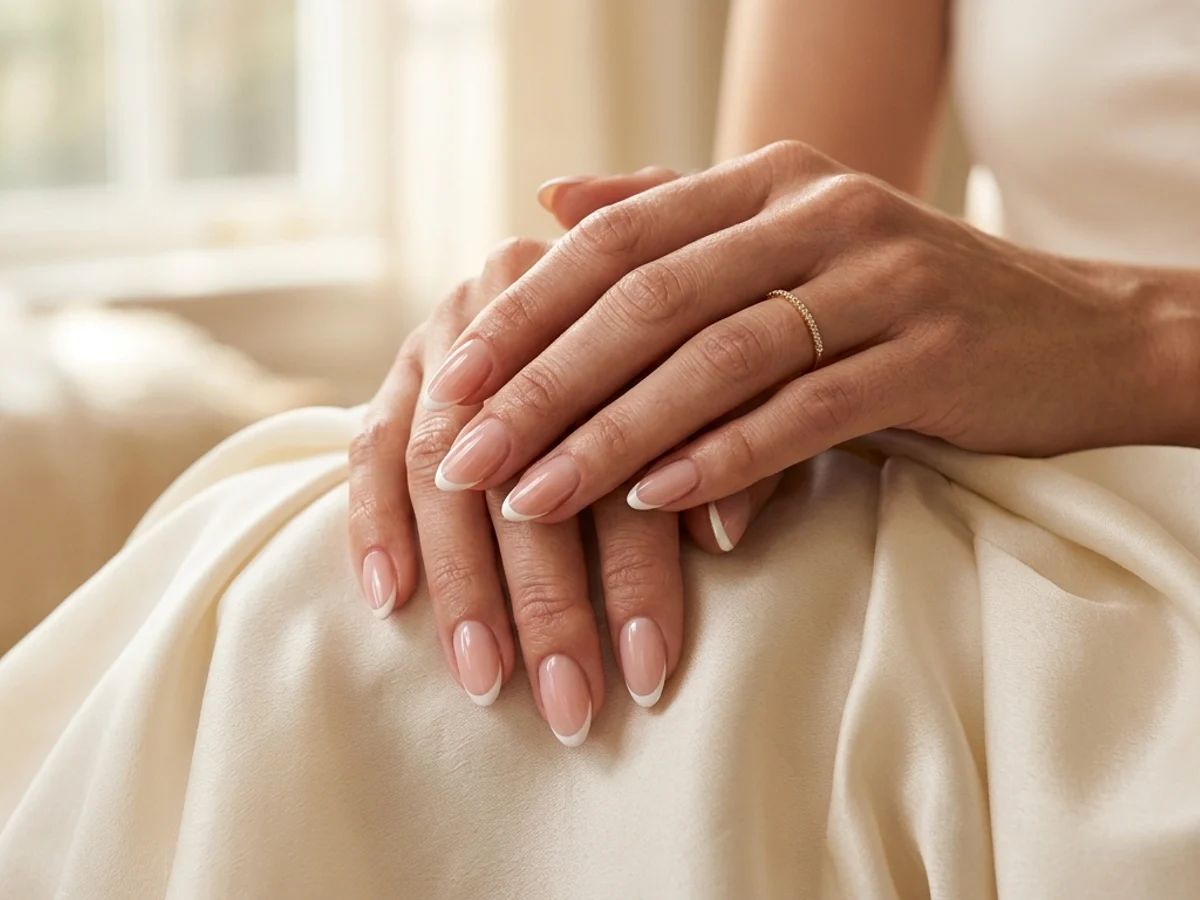
How to Create Micro French Tips: Crisp Hairline Smile Lines at Home
Master razor-thin 1mm French smile lines using a fine liner brush, sheer blush base balancing, and clean-up refinement for an effortlessly elongated manicure.
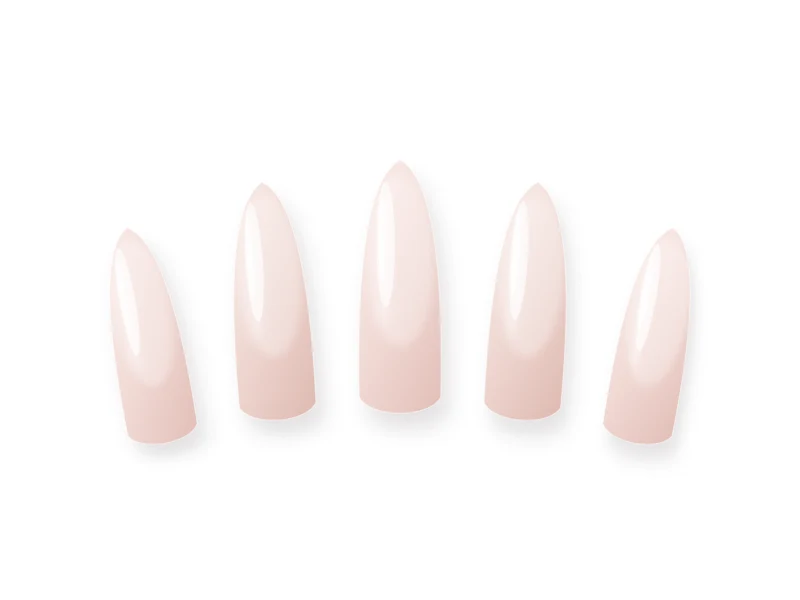
How to Get Clean Girl Soap Nails: The Glass-Gloss Natural Manicure Guide
Achieve the freshly washed, glass-glossy elegance of soap nails through gentle cuticle refinement, undertone-matched sheer coats, and mirror-shine sealing.
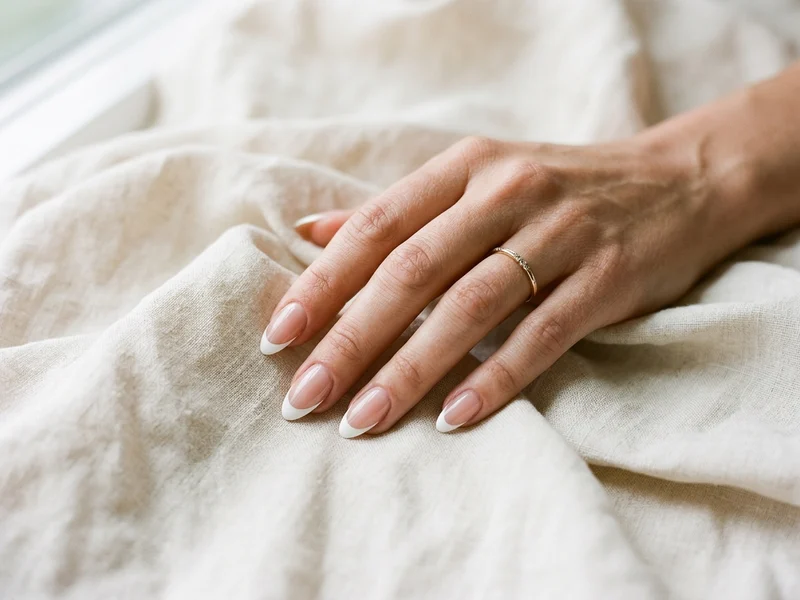
How to Create Classic White French Tips with Balanced Proportions
Learn the exact geometry behind timeless classic white French tips—from choosing a flattering sheer base to carving deep, symmetrical smile lines.