
How to Get Clean Girl Soap Nails: The Glass-Gloss Natural Manicure Guide
Soap nails—the quietest, most polished evolution of the clean-girl manicure—celebrate nails that look freshly scrubbed, hydrated, and bathed in glass-like shine. There is no intricate artwork to master; instead, the luxury comes entirely from clean proportions, calm neat cuticles, a translucent veil of blush or milky neutral, and an ultra-wet glossy finish.
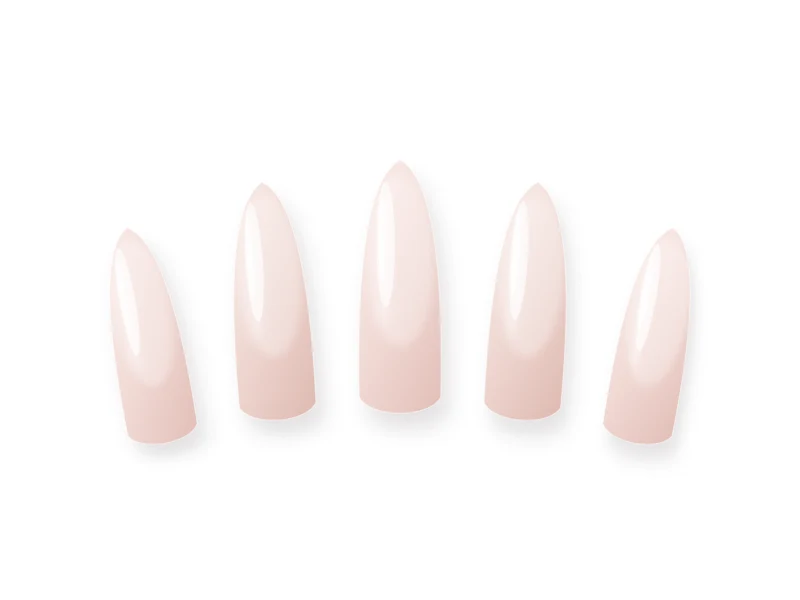
Overview of the Nail Design
Because soap nails work equally well with air-dry lacquer or sheer soak-off gel, this tutorial is one of the most approachable, low-maintenance manicures you can perform at home—and it grows out virtually invisibly.
Generic Tools and Materials Needed
You only need standard, generic manicure tools to practice this technique cleanly:
- 180-grit or glass nail file and a gentle ridge-smoothing buffer
- Cuticle remover gel (optional) and a wooden cuticle pusher
- Lint-free wipes and isopropyl alcohol
- Ridge-filling or smoothing base coat
- Sheer milky-pink, translucent rosewater, or sheer neutral beige polish or gel
- Plumping high-gloss top coat
- Botanical cuticle oil and fragrance-free hand moisturizer
Nail Preparation
- File your nails to a neat, uniform short-to-medium length—rounded squoval or natural oval shapes reinforce the effortless, freshly groomed aesthetic.
- Soften dry cuticle skin gently, push back the proximal nail fold with light pressure, and remove only loose dead cuticle tissue on the nail plate. Never cut living skin around the nail fold.
- Wash and dry hands thoroughly, then swipe each nail plate with isopropyl alcohol so the surface is completely oil-free before base coat.
Step-by-Step Instructions
-
Step 1
Smooth Texture with a Ridge-Filling Base Coat
Apply one thin, even layer of ridge-filling or self-leveling base coat. Soap nails rely on an unbroken light reflection, so smoothing vertical nail ridges immediately elevates the finish.
-
Step 2
Float One to Two Translucent Sheer Coats
Choose a sheer pink or milky beige that lets your natural smile line peek softly through. Apply one thin coat in three clean strokes (center, left, right) without over-brushing. Add a second thin coat only if you prefer a slightly creamier cloud-like veil.
-
Step 3
Perfect the Cuticle Margin
Keep a crisp, tiny 0.5mm border around the cuticle and sidewalls so the manicure looks tailored and never flooded. Clean any tiny stray smudges immediately with a clean-up brush.
-
Step 4
Finish with a Glass-Shine Plumping Top Coat
Seal the manicure with a glossy, slightly plumping top coat, capping the free edge cleanly. For regular polish, allow at least 15 minutes of careful drying before handling fabrics; for gel, cure fully and wipe any inhibition layer.
-
Step 5
Rehydrate Cuticles and Hands
Once fully dry or cured, massage a drop of lightweight cuticle oil around every nail fold and finish with a soft hand cream. Hydrated skin is half the visual secret of editorial soap nails.
Beginner-Friendly Tips
- Hold the brush nearly flat against the nail when applying sheer shades—pressing vertically creates streaks.
- If your natural free edge looks slightly uneven in color, two coats of sheer milky-pink will softly blur it without looking opaque.
Common Mistakes to Avoid
- Over-buffing the natural nail plate thin in pursuit of smoothness—use a ridge-filling base coat instead of aggressive buffing.
- Applying opaque pastel pink instead of translucent sheer pink, which turns the look chalky rather than soapy and glassy.
Troubleshooting & Professional Finishing
- Streaky sheer polish: Let the first slightly uneven coat dry completely, then float a slightly fuller second coat with minimal brush strokes.
- Dull finish after two days: Reapply one fresh thin coat of glossy top coat (for lacquer) to restore mirror shine.
Finishing Technique
Check your nails in natural window light—a great soap manicure should reflect a clean, straight ribbon of light down the center of each nail plate.
Alternative Design Variations
- Milky Bath Soap Nails: Use a sheer marshmallow-white tint instead of pink for a crisp minimalist look.
- Lip-Gloss Nails: Layer a sheer rose-tinted jelly coat topped with ultra-glossy clear seal for juicy translucency.
- Micro-Pearl Soap Nails: Add a whisper-light rub of translucent pearl powder over a single sheer coat for a barely-there sunlit gleam.
Safety, Removal & Aftercare
Never clip live proximal nail fold skin, as it protects the nail matrix from irritation and infection. Remove regular lacquer gently with non-harsh remover and immediately replenish moisture with cuticle oil; soak off gel safely without peeling.
Nail Care & Aftercare
Massage cuticle oil into your nails every evening before bed and wear gloves during dishwashing to maintain crystal-clear gloss and flexible natural nails.
Frequently Asked Questions
What is the difference between soap nails and milky white nails?
Milky white nails lean noticeably creamy and semi-opaque white, whereas soap nails are even sheerer—usually translucent blush, beige, or clear-pink—focusing on freshly groomed cuticles and wet-look gloss.
How long do regular-polish soap nails last?
With dry prep, capped edges, and a fresh top-coat refresh mid-week, regular lacquer soap nails typically look crisp for 5 to 7 days and show very little visible grow-out.
Related Tutorials
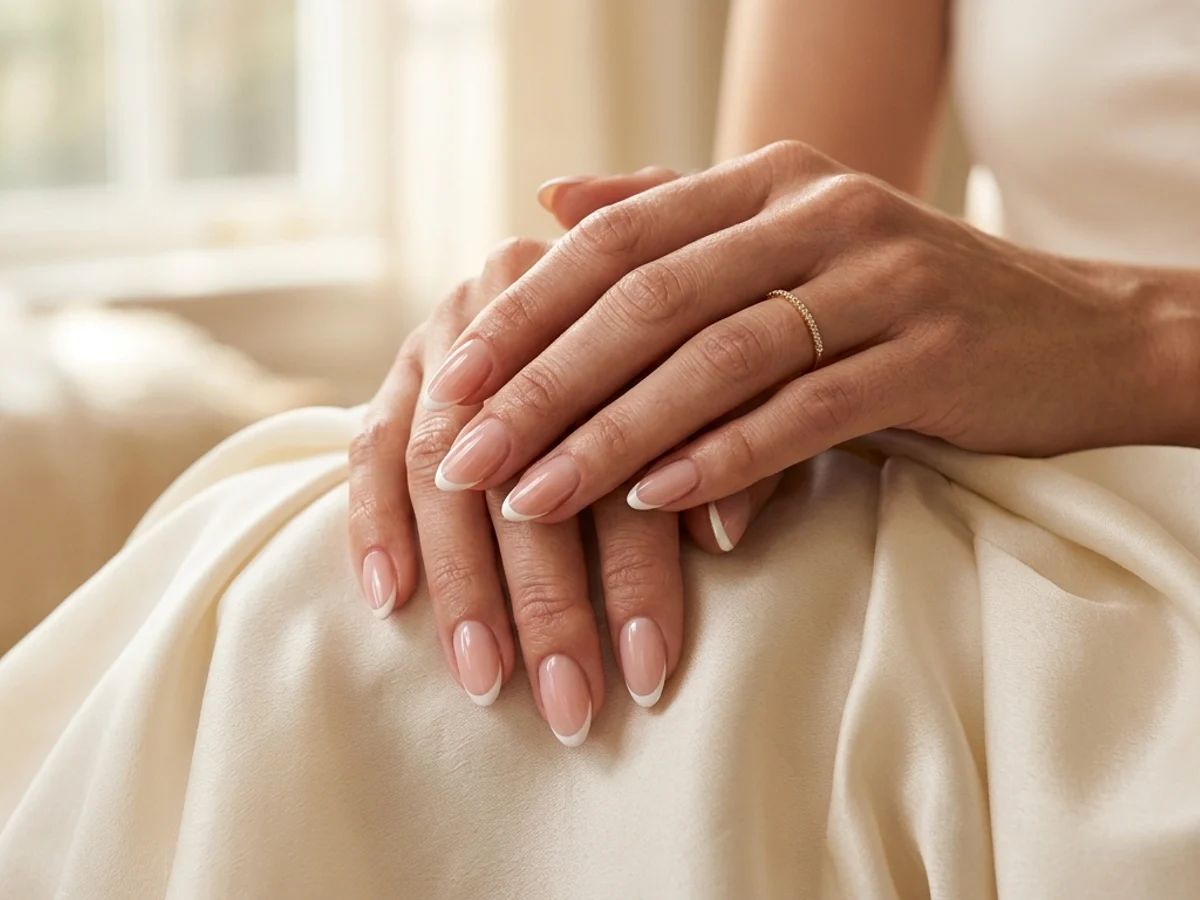
How to Create Micro French Tips: Crisp Hairline Smile Lines at Home
Master razor-thin 1mm French smile lines using a fine liner brush, sheer blush base balancing, and clean-up refinement for an effortlessly elongated manicure.
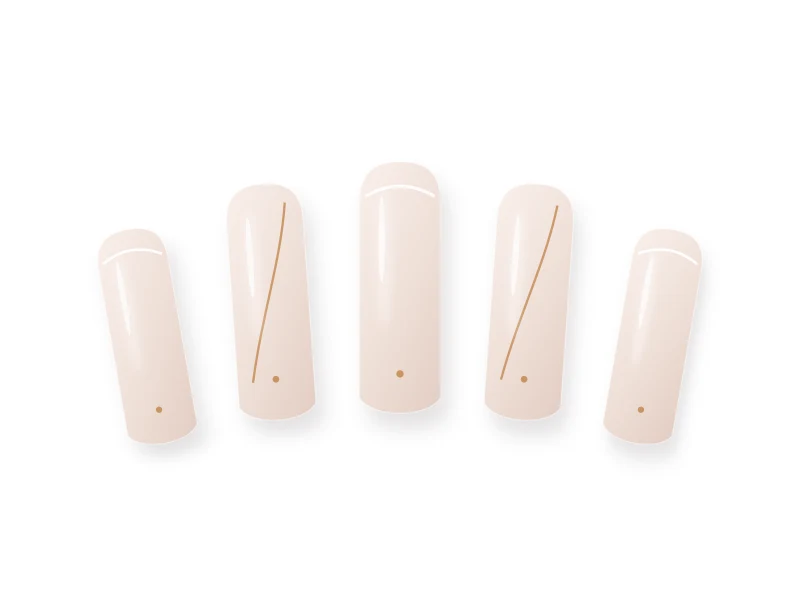
How to Create Minimalist Negative-Space Fine Line Nail Art
Master effortless gallery-clean negative-space nail art with pinky-anchor stabilization, striping-brush loading, and balanced asymmetric placement.
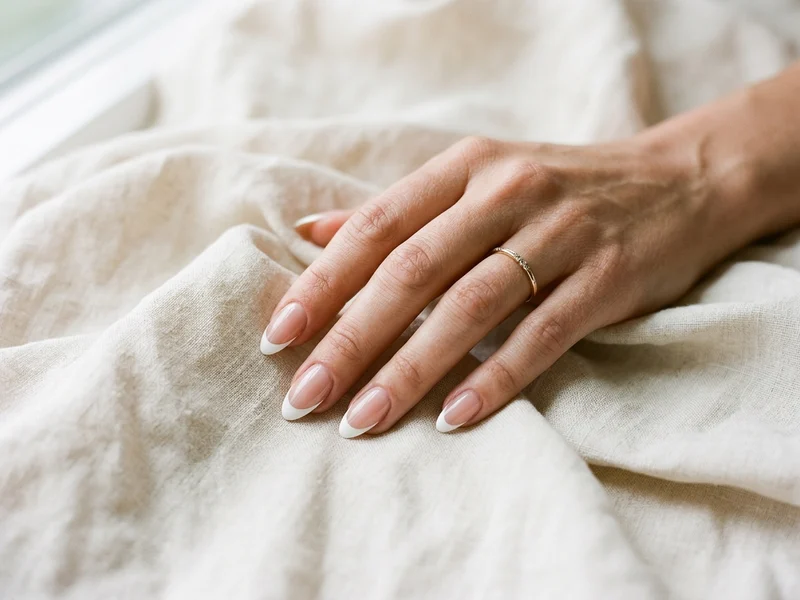
How to Create Classic White French Tips with Balanced Proportions
Learn the exact geometry behind timeless classic white French tips—from choosing a flattering sheer base to carving deep, symmetrical smile lines.