
How to Paint Streak-Free Baby Pink and Blush Chrome Nails
Baby pink and creamy pastel blush are among the most requested manicure shades worldwide—and also among the trickiest to paint smoothly. Because pastel pinks contain high levels of white titanium dioxide pigment, pressing the brush too firmly drags pigment away and leaves bald vertical streaks. Changing your brush angle and layer rhythm solves pastel streaking completely.
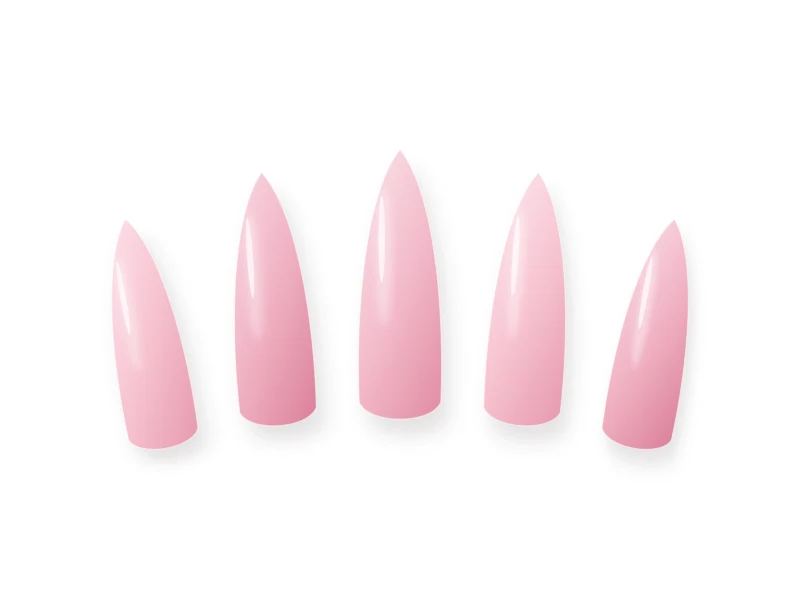
Overview of the Nail Design
This tutorial teaches the three-stroke floating method for creamy baby pink lacquer or gel, plus how to add a soft rose-pearl glaze without losing that clean petal-pink tone.
Generic Tools and Materials Needed
You only need standard, generic manicure tools to practice this technique cleanly:
- 180/240-grit file, wooden cuticle pusher, lint-free wipes, and isopropyl alcohol
- Ridge-filling or smooth self-leveling base coat
- Baby pink or blush pink polish or UV/LED gel
- High-gloss top coat (no-wipe gel top coat if adding optional pearl chrome)
- Optional ultra-fine pink-shift pearl chrome powder and sponge applicator
- Botanical cuticle oil
Nail Preparation
- Shape and lightly smooth the nail plate, push back cuticles cleanly, and dehydrate with isopropyl alcohol.
- Avoid shaking regular polish bottles vigorously right before painting—roll the bottle gently between your palms to mix pigment without trapping tiny air bubbles.
Step-by-Step Instructions
-
Step 1
Create a Uniform Canvas with Ridge-Filling Base
Pastel white-based pigments settle into vertical ridges and exaggerate them. One smooth coat of ridge-filling base creates a glass-flat foundation so baby pink glides effortlessly.
-
Step 2
Accept an Imperfect First Thin Coat
Apply your first coat of baby pink very thinly and resist the urge to brush over the same spot five times trying to make it opaque. Over-working wet pastel polish causes dragging and streaks. Let the first thin coat dry or cure as your anchor layer.
-
Step 3
Float the Second Coat Almost Parallel to the Nail
Load a medium bead on one side of your brush. Place the brush 1mm above the cuticle, gently push slightly back to form a clean curve, and glide smoothly down the center with the bristles held nearly flat (around 15 degrees). Follow with one left stroke and one right stroke—three strokes total.
-
Step 4
Pause 5 Seconds for Self-Leveling (Gel) or Add a Thin Third Coat
If using gel, wait 5 seconds before putting your hand in the lamp so gravity levels the brush marks into a mirror finish. If using sheerer baby pink lacquer, apply a third whisper-thin floating coat once the second coat is dry to the touch.
-
Step 5
Seal with Gloss—or Add a Subtle Blush Pearl Glaze
Finish with a high-gloss top coat capping the free edge. For pink chrome nails, flash-cure a no-wipe gel top coat for 20 to 30 seconds, burnish ultra-fine pink-pearl chrome gently, seal the edge with a whisper of base coat, and finish with glossy top coat.
Beginner-Friendly Tips
- If your pastel pink looks chalky against your skin, choose a sheerer rosy-blush formula with a hint of translucency—it flatters far more skin undertones than opaque chalky pink.
- Wait 3 full minutes between regular polish coats so the lower layer doesn't drag when the second coat glides over it.
Common Mistakes to Avoid
- Pressing the brush straight down at a 60-degree angle, which splits the bristles and carves streaks.
- Applying thick gloppy coats to reach opacity in one layer, causing bubbles, slow drying, or wrinkled gel.
Troubleshooting & Professional Finishing
- Tiny air bubbles in lacquer: Roll rather than shake the bottle, keep away from direct fans while painting, and apply thinner coats.
- Patchy cuticle edge: Use a tiny flat clean-up brush dipped in alcohol or remover to sweep a crisp crescent curve.
Finishing Technique
Inspect the cuticle curve and side reflection before curing or drying, then finish with daily cuticle oil once completely set.
Alternative Design Variations
- Tonal Pink Skittle: Paint each nail in a graduated rose palette from milky baby pink on the thumb to muted mauve-pink on the pinky.
- Blush Pink with Micro White French: Add a 0.8mm crisp white hairline tip over two coats of sheer baby pink.
Safety, Removal & Aftercare
Cure each thin pastel gel coat for the full recommended time—white-heavy pastel gels block UV light more than sheer shades, so thin layers prevent under-curing. Keep uncured gel off skin and soak off gently without peeling.
Nail Care & Aftercare
Protect pastel shades from hair dye, turmeric, or self-tanner by wearing gloves during styling or cooking, and refresh lacquer gloss mid-week.
Frequently Asked Questions
Why does baby pink nail polish always streak more than dark colors?
Pastel shades rely on dense white pigment particles that show every brush-bristle track if pressed hard. Floating the brush nearly parallel to the nail in two to three thin layers solves the issue.
Related Tutorials
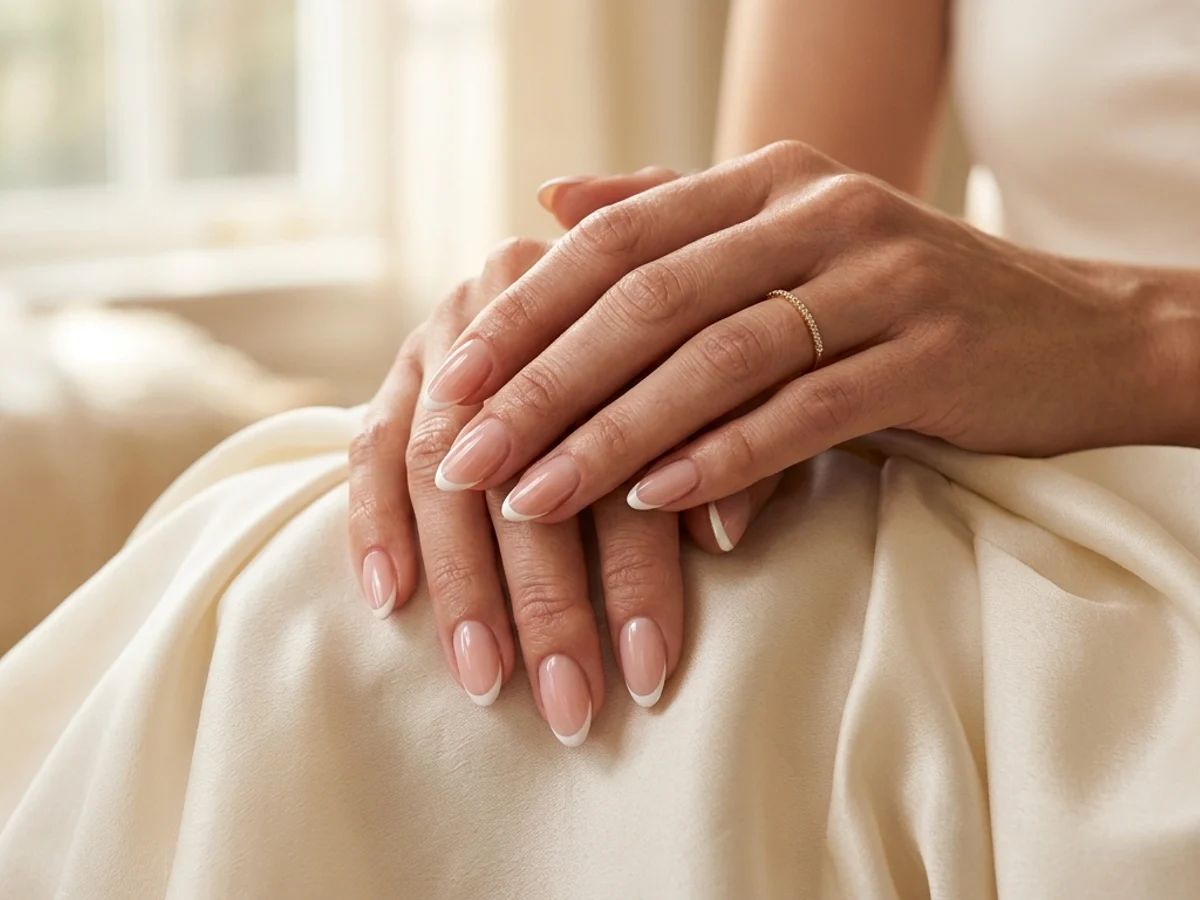
How to Create Micro French Tips: Crisp Hairline Smile Lines at Home
Master razor-thin 1mm French smile lines using a fine liner brush, sheer blush base balancing, and clean-up refinement for an effortlessly elongated manicure.
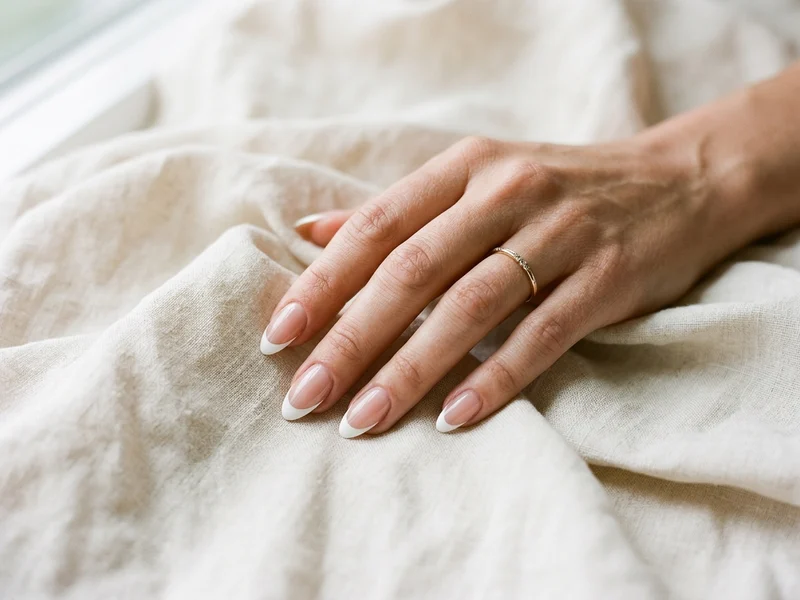
How to Create Classic White French Tips with Balanced Proportions
Learn the exact geometry behind timeless classic white French tips—from choosing a flattering sheer base to carving deep, symmetrical smile lines.
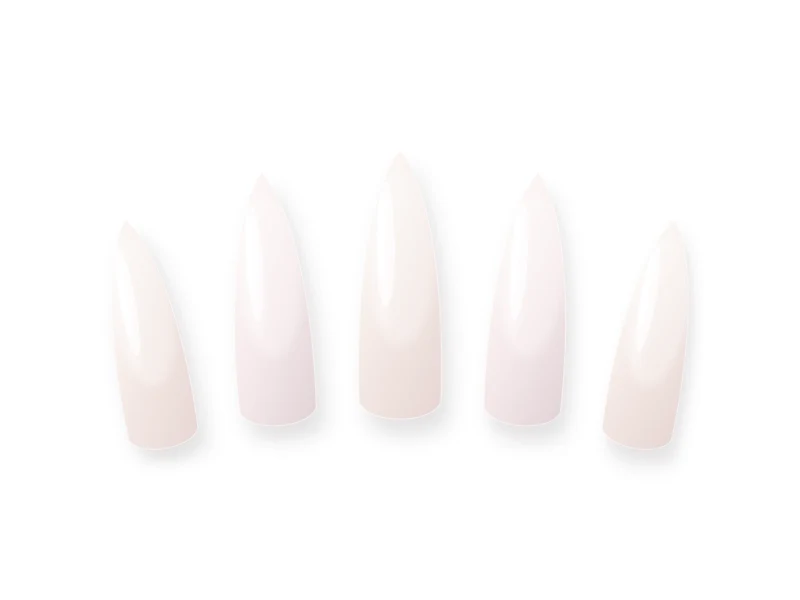
How to Do Glazed Donut Nails at Home: Luminous Pearl Chrome Technique
Unlock the mirror-smooth pearlescent sheen of glazed donut nails with precise flash-cure timing, dust-free prep, and chip-proof chrome edge sealing.