
Structured BIAB Builder Gel Overlay: Apex Basics, Skin Safety & Safe Removal
Builder-in-a-bottle (BIAB) and structured soft-gel overlays have transformed modern manicures by adding lightweight, flexible reinforcement over natural nails. When structured accurately with a subtle apex and feathered cuticle transition, a BIAB overlay supports natural nail growth and delivers a glass-smooth finish. However, builder gels also require disciplined safety habits—especially keeping uncured product completely off the skin and respecting full UV/LED curing times.
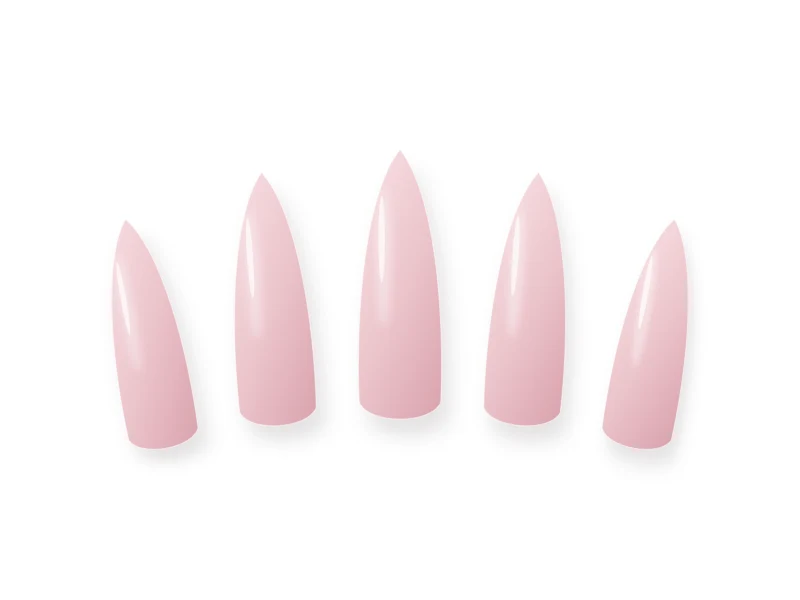
Overview of the Nail Design
This purely educational technical guide breaks down how self-leveling builder gel works, how to position a gentle apex for strength without bulk, and how to remove or rebalance overlays without thinning the natural nail plate.
Generic Tools and Materials Needed
You only need standard, generic manicure tools to practice this technique cleanly:
- 180-grit and 240-grit hand files, gentle fine buffer, and dusting brush
- Wooden cuticle stick, lint-free wipes, and 90% isopropyl alcohol
- Compatible UV/LED nail lamp matched to your gel chemistry
- Soft-gel base coat (if required by your system), self-leveling BIAB builder gel, and glossy top coat
- 9mm fine liner brush (for guiding self-leveling gel cleanly to edges)
- 100% pure acetone, cotton pads, foil wraps, and botanical cuticle oil (for removal)
Nail Preparation
- Perform thorough dry cuticle prep—any invisible dead cuticle left on the nail plate causes early lifting at the base.
- Gently remove natural surface shine with a 180/240-grit buffer using feather-light pressure (never file thin grooves into the natural nail).
- Cleanse thoroughly with isopropyl alcohol on a lint-free wipe and work in a clean, well-ventilated space.
Step-by-Step Instructions
-
Step 1
Apply a Scrubbed-In Thin Base Layer
Brush an ultra-thin layer of compatible base coat (or scrubbed thin slip of builder gel, per your system's instructions) strictly onto the nail plate, leaving a clean 0.5mm border around cuticles and sidewalls. Cure fully.
-
Step 2
Float an Uncured Slip Layer (One Nail at a Time)
Apply a whisper-thin uncured layer of BIAB builder gel over one nail plate—still keeping a strict skin-free margin. Do not cure yet. This wet slip layer acts as a smooth track so your structural bead glides effortlessly without dragging.
-
Step 3
Place and Guide the Self-Leveling Bead
Pick up a small-to-medium bead of builder gel and set it near the upper third of the nail (the stress zone). Gently float the bead in slow side-to-side motions toward the free edge, using your fine 9mm liner brush to guide gel neatly near the sidewalls without ever touching skin.
-
Step 4
Use Gravity to Center a Subtle Apex
Flip your hand palm-up for 5 to 8 seconds so gravity draws the self-leveling gel gently toward the center arch (the apex), creating slim, natural-looking sidewalls and a sleek cuticle taper. Check the light reflection line down the nail—it should look smooth and unbroken.
-
Step 5
Flash-Cure, Repeat, and Complete a Full Cure
Flash-cure that nail for 15 seconds to lock the structure in place before moving to the next finger. Once all five fingers are structured, cure the entire hand for the full recommended time (typically 60 seconds). If you experience a mild heat spike on sensitive nails, use the lamp's low-heat mode or remove your hand briefly for 3 seconds before finishing the cure.
-
Step 6
Seal with Glossy Top Coat
Because BIAB often comes in flattering sheer blush or milky neutral tones, you can finish directly with a smooth glossy top coat, cure fully, wipe any tacky layer if applicable, and apply cuticle oil.
Beginner-Friendly Tips
- Less product is always easier to control—start with a smaller bead than you think you need and build gently rather than chasing flooded sidewalls.
- Keep a clean lint-free wipe dampened with alcohol right beside you to immediately clean any accidental skin touch before your hand goes anywhere near the lamp.
Common Mistakes to Avoid
- Flooding the cuticle or sidewalls with uncured builder gel—this causes lifting within days and significantly increases the risk of acrylate skin allergy.
- Building a heavy bulbous mound near the free edge instead of tapering smoothly toward the tip.
- Using an under-powered mini flash lamp for full cures instead of a proper full-hand UV/LED lamp.
Troubleshooting & Professional Finishing
- Lifting at the cuticle after one week: Almost always caused by leftover invisible cuticle tissue on the nail plate or gel touching the skin during application.
- Mild bumpy reflection after curing: Wipe off the cured tacky layer with alcohol, lightly refine the smooth arch with a 180-grit file, dust clean, and reseal with glossy top coat.
Finishing Technique
View every nail from the side profile before your final top coat: a well-built short BIAB overlay should look slim at the cuticle, gently supported over the stress zone, and sleek at the free edge.
Alternative Design Variations
- Milky BIAB + Micro French: Use a translucent milky builder base and paint a 1mm crisp white tip on top before sealing.
- Structured Pearl Glaze: Burnish sheer pearl chrome over cured sheer-pink BIAB for a salon-grade glazed finish.
Safety, Removal & Aftercare
CRITICAL SAFETY NOTE: Never allow uncured builder gel, base gel, or monomer products to sit or cure on skin, as repeated skin exposure can cause permanent contact allergies to acrylates. Always work in a well-ventilated area, wear a dust mask when hand-filing overlays, and match lamp wattage to your gel system. For soak-off BIAB removal, gently hand-file down about 60%–70% of the bulk (stopping well before the natural nail), wrap each nail in 100% acetone-soaked cotton and foil for 12 to 15 minutes, and gently lift softened gel with a wooden stick—repeating a brief soak if any firm patches remain. Never pry, peel, or aggressively scrape dry gel.
Nail Care & Aftercare
Massage cuticle oil daily around structured overlays to keep the flexible natural nail beneath hydrated and prevent separation at the free edge.
Frequently Asked Questions
What is the difference between soft soak-off BIAB and hard builder gel?
Soft builder gels (like most BIAB formulas) are flexible and can be soaked off in acetone after debulking the top layer, whereas hard gels are solvent-resistant and must be carefully filed down during maintenance or removal.
Why did I feel a brief warm sensation in the UV/LED lamp?
That brief warmth (an exothermic heat spike) occurs as gel molecules link rapidly during curing, especially if the layer is thick or the natural nail is thin. Applying thinner layers and using a lamp's low-heat mode minimizes it.
Related Tutorials
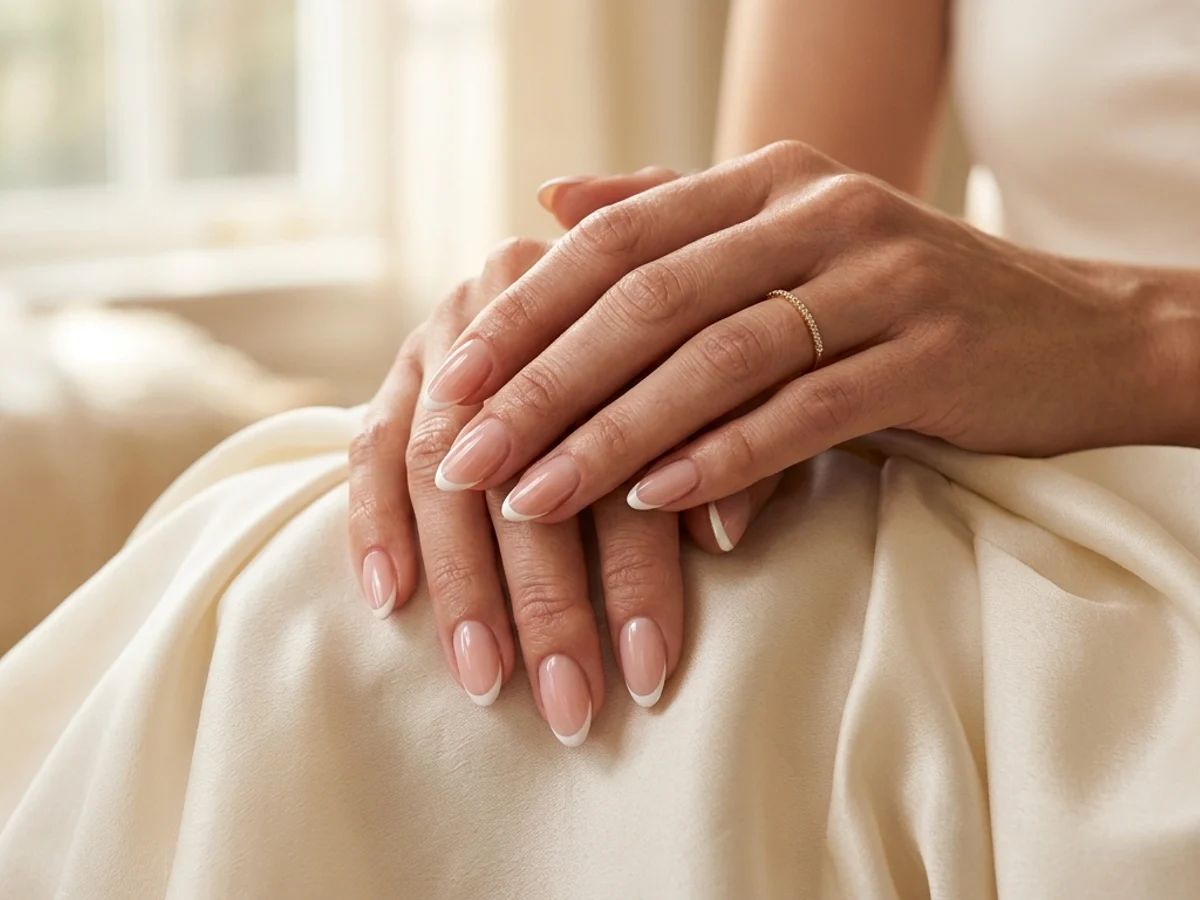
How to Create Micro French Tips: Crisp Hairline Smile Lines at Home
Master razor-thin 1mm French smile lines using a fine liner brush, sheer blush base balancing, and clean-up refinement for an effortlessly elongated manicure.
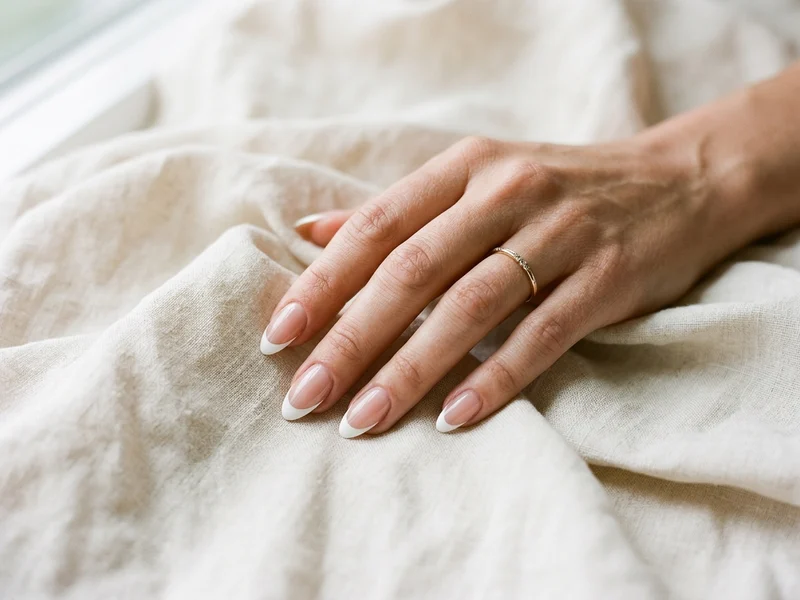
How to Create Classic White French Tips with Balanced Proportions
Learn the exact geometry behind timeless classic white French tips—from choosing a flattering sheer base to carving deep, symmetrical smile lines.
How to Do Glazed Donut Nails at Home: Luminous Pearl Chrome Technique
Unlock the mirror-smooth pearlescent sheen of glazed donut nails with precise flash-cure timing, dust-free prep, and chip-proof chrome edge sealing.