
Timeless Bridal Pearlescent Manicure: Ring-Ready Prep and Sheer Glow
Wedding and engagement manicures live forever in close-up photographs—clasping a bouquet, exchanging rings, and holding hands in natural light. The most timeless bridal nails never compete with the gown or jewelry; instead, they combine ultra-calm hydrated cuticles, a flattering translucent ivory-blush shade, and a soft mother-of-pearl sheen that catches daylight without harsh glare.
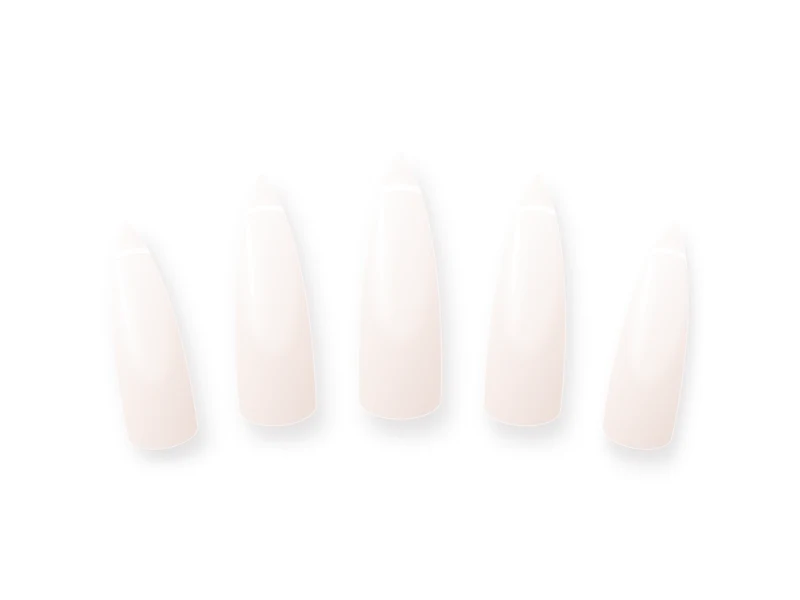
Overview of the Nail Design
This guide covers both the exact luminous pearlescent layering technique and the practical pre-event preparation timeline that prevents last-minute redness, breaks, or fabric snags.
Generic Tools and Materials Needed
You only need standard, generic manicure tools to practice this technique cleanly:
- Fine 240-grit or crystal glass file and gentle buffer
- Wooden cuticle stick, lint-free wipes, and isopropyl alcohol
- Self-leveling base coat and high-gloss top coat
- Sheer bridal pink and translucent milky-white polish or gel
- Optional sheer white-pearl chrome or ultra-fine opalescent shimmer veil
- Botanical cuticle oil
Nail Preparation
- Three weeks before the event: Start applying botanical cuticle oil twice daily and do a trial manicure in your chosen shade to see how it looks in both outdoor daylight and warm evening light.
- One to two days before the event: Perform the final manicure so cuticles are completely calm and free of any post-grooming redness.
- Avoid raised 3D crystals or sharp charms on bridal nails, as they can easily snag delicate lace, silk, or bridal veils.
Step-by-Step Instructions
-
Step 1
Shape into a Balanced, Camera-Friendly Silhouette
Soft almond and natural oval shapes elongate the fingers in ring photographs without feeling harsh. Match length carefully across all ten nails and smooth every corner.
-
Step 2
Layer Sheer Blush Beneath Milky White (The Custom Bridal Sandwich)
After base coat, apply one thin coat of sheer rosy blush to warm up the natural nail bed, followed by one thin coat of translucent milky white. Sandwiching these two sheer layers prevents chalky coolness while blurring the natural free edge softly.
-
Step 3
Optional: Add a Delicate Micro French or Soft Pearl Glaze
For classic bridal romance, paint a hairline 1mm ivory French tip before sealing. For luminous modern minimalism, burnish a whisper-thin veil of translucent pearl chrome over flash-cured no-wipe gel top coat.
-
Step 4
Seal Smoothly and Cap Every Free Edge
Apply a smooth, self-leveling glossy top coat over the entire nail and cap the free edge so the nails resist chipping throughout rehearsals, travel, and celebrations.
-
Step 5
Final Macro-Ready Cuticle Polish
Once completely set, massage a drop of fast-absorbing cuticle oil around the nail fold and blot excess gently before handling silk or satin garments.
Beginner-Friendly Tips
- Take a quick phone photo of your trial manicure holding a white napkin or fabric near a window—this immediately reveals whether the shade reads harmoniously ivory-blush or too stark.
- Pack a tiny glass nail file and cuticle oil pen in your emergency day-of pouch.
Common Mistakes to Avoid
- Testing a brand-new shade or gel system for the very first time the night before a wedding.
- Cutting cuticles aggressively right before the event, which causes sore, red nail folds in close-up photos.
Troubleshooting & Professional Finishing
- Milky white looks too stark against warm skin: Reverse the sandwich order—put milky white first and finish with sheer peachy-blush on top to warm the undertone.
Finishing Technique
Keep surfaces completely smooth and encapsulated so hands glide effortlessly across lace, tulle, and satin.
Alternative Design Variations
- Soft Baby-Boomer Bridal Ombre: Gently sponge-fade milky white over the free edge into sheer blush pink.
- Minimalist Pearl-Dot Accent: Place one smooth flat micro-pearl or painted pearl dot at the base of the ring finger only.
Safety, Removal & Aftercare
Never experiment with unfamiliar gel enhancements right before a major milestone. Keep uncured gel strictly off the skin and soak off gently after your trip.
Nail Care & Aftercare
Continue daily cuticle oil through your celebration and honeymoon to preserve luminous gloss.
Frequently Asked Questions
How many days before a wedding should I do my manicure?
One to two days prior is the sweet spot—close enough for zero visible grow-out and peak gloss, with enough time for cuticles to look completely calm.
Related Tutorials
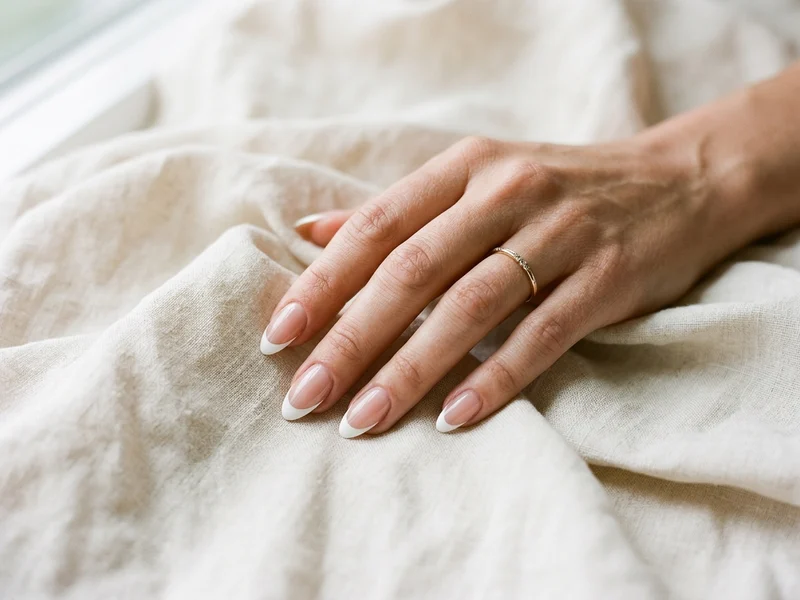
How to Create Classic White French Tips with Balanced Proportions
Learn the exact geometry behind timeless classic white French tips—from choosing a flattering sheer base to carving deep, symmetrical smile lines.
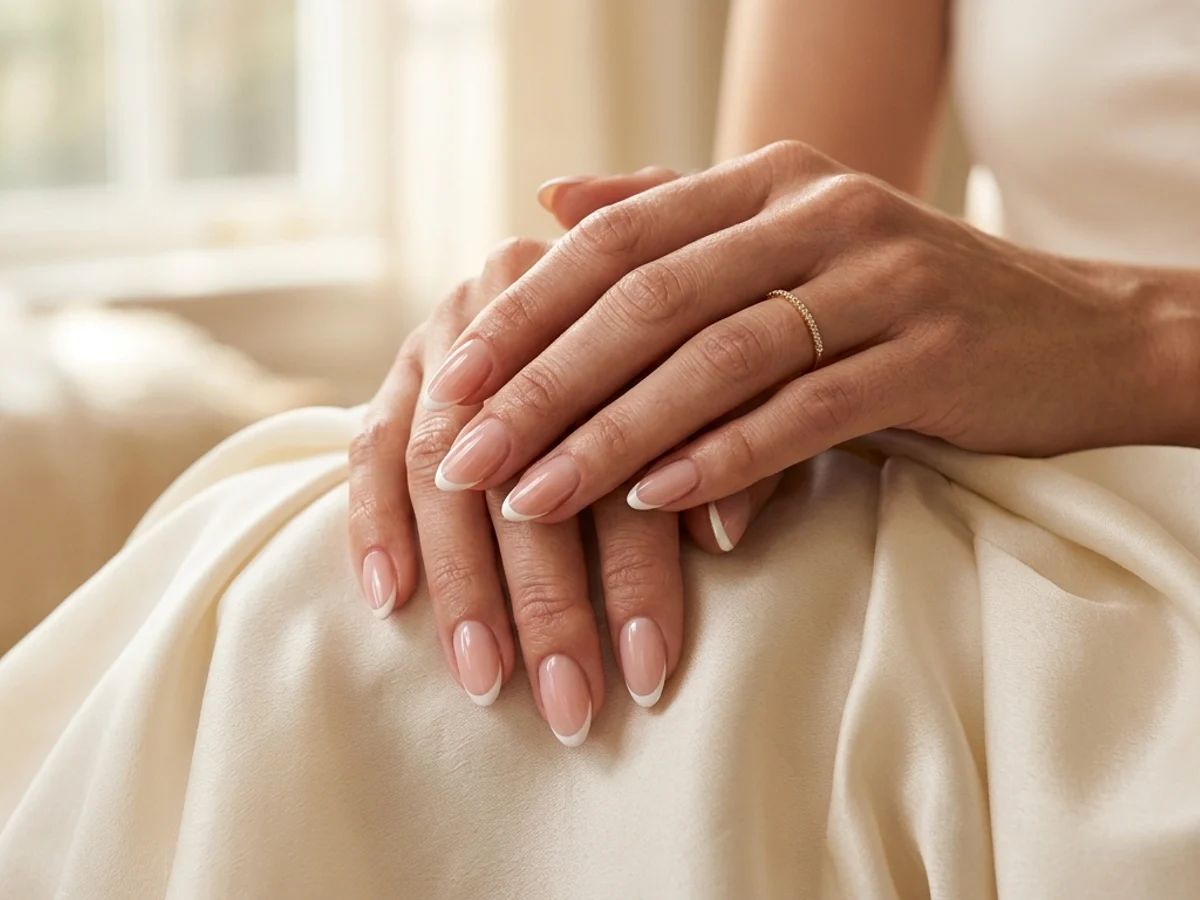
How to Create Micro French Tips: Crisp Hairline Smile Lines at Home
Master razor-thin 1mm French smile lines using a fine liner brush, sheer blush base balancing, and clean-up refinement for an effortlessly elongated manicure.
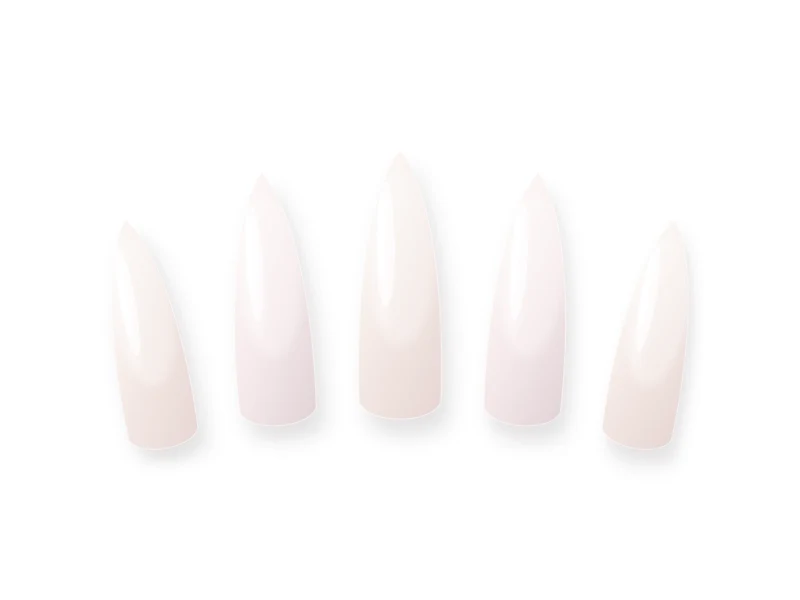
How to Do Glazed Donut Nails at Home: Luminous Pearl Chrome Technique
Unlock the mirror-smooth pearlescent sheen of glazed donut nails with precise flash-cure timing, dust-free prep, and chip-proof chrome edge sealing.