
Trending Sheer Jelly Rose & Fine-Chrome Accents: Editorial Technique Breakdown
Across editorial beauty studios from New York and London to Seoul and Tokyo, the defining nail trend is tactile translucency paired with restrained metallic reflection. Instead of heavy opaque overlays, manicurists layer sheer watery rose-jelly coats (often called syrup nails) so light passes through the nail plate, then add razor-thin isolated chrome accents that float like liquid jewelry on top.
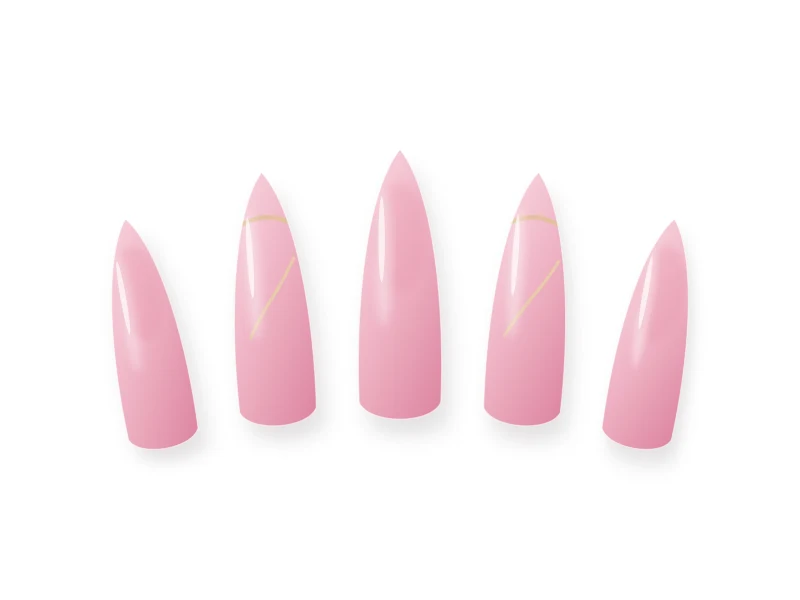
Overview of the Nail Design
This trend breakdown teaches two transferable studio skills: staggered syrup-jelly gradient layering for glass depth, and the matte-isolation method that lets you buff mirror chrome strictly onto fine line art without powder sticking to the rest of the nail.
Generic Tools and Materials Needed
You only need standard, generic manicure tools to practice this technique cleanly:
- 180/240-grit file, wooden cuticle stick, lint-free wipes, and 90% isopropyl alcohol
- UV/LED nail lamp
- Gel base coat, matte gel top coat, and glossy no-wipe gel top coat
- Translucent rose-pink jelly (syrup) gel
- Thick clear or black no-wipe art gel (for isolated chrome lines) and a 9mm fine liner brush
- Champagne or silver mirror chrome powder, sponge applicator, and soft dusting brush
- Botanical cuticle oil
Nail Preparation
- Shape and groom cuticles cleanly, lightly remove nail shine, and wipe thoroughly with isopropyl alcohol.
- Because jelly layers are see-through, make sure the free edge underside is completely clean before beginning.
Step-by-Step Instructions
-
Step 1
Build Staggered Syrup-Jelly Depth
After base coat, apply one ultra-sheer coat of translucent rose jelly over the entire nail and cure. Apply a second sheer coat covering the upper 70% of the nail, feathering gently toward the cuticle before curing. This staggered syrup layering creates a juicy, glass-like gradient.
-
Step 2
Isolate the Surface with a Matte Top Coat
If you want chrome to stick ONLY to your fine art lines and nowhere else, apply one thin coat of matte top coat over the cured jelly base, cure fully, and wipe firmly with 90% isopropyl alcohol on a lint-free pad. Chrome powder cannot grip a clean matte surface.
-
Step 3
Paint Crisp No-Wipe Art Lines
Load your 9mm detail brush with clear or black no-wipe art gel (or thick no-wipe top coat) and paint one delicate organic metallic ribbon, micro French arc, or dainty crescent accent. Flash-cure for 25 to 30 seconds.
-
Step 4
Burnish Chrome Strictly onto the Raised Lines
Gently rub champagne or silver mirror chrome powder across the nail with a sponge applicator. The chrome bonds cleanly to the glossy flash-cured lines while brushing right off the matte background.
-
Step 5
Dust Thoroughly and Restore Glass-Jelly Shine
Use a soft fluffy brush to sweep away every trace of stray powder from the matte areas. Then float a smooth coat of glossy no-wipe top coat across the entire nail—instantly turning the matte jelly base back into crystal-clear liquid glass while encapsulating your crisp metallic chrome lines.
Beginner-Friendly Tips
- Wiping the cured matte top coat thoroughly with 90% alcohol before painting your art lines is the secret to zero stray chrome specks on the background.
- Keep isolated chrome ribbons delicate on two accent nails per hand so the watery jelly rose remains the star.
Common Mistakes to Avoid
- Skipping the alcohol wipe after matte top coat, leaving faint sticky spots that trap stray chrome dust.
- Using runny regular top coat for the chrome lines instead of slightly higher-viscosity no-wipe art gel, causing lines to spread flat before curing.
Troubleshooting & Professional Finishing
- Stray chrome dust stuck to the matte background: Lightly dab the background with a piece of clean low-tack tape or gently swipe around the cured lines with an alcohol-dampened clean-up brush before applying your final glossy top coat.
Finishing Technique
Seal with a full-coverage glossy top coat, capping both the chrome edges and the free edge, then cure fully and hydrate cuticles.
Alternative Design Variations
- Cherry Jelly + Silver Ribbons: Swap rose jelly for translucent red cherry syrup with cool liquid-silver chrome.
- Milky Ivory + Molten Gold Drops: Use milky sheer white with tiny raised gold chrome dewdrop accents.
Safety, Removal & Aftercare
Keep all uncured gel strictly away from skin, work in a calm ventilated space when handling chrome powder, and cure every layer for the full recommended time. Remove safely via gentle top-coat buffing and acetone foil wraps.
Nail Care & Aftercare
Daily cuticle oil and protective gloves preserve the mirror-clear jelly shine and protect fine metallic lines from friction wear.
Frequently Asked Questions
Why does the matte jelly look glossy again at the end?
Matte top coat creates microscopic surface texture that scatters light. When you seal over it with glossy top coat at the end, the liquid fills that micro-texture completely and restores crystal-clear glass transparency.
Related Tutorials
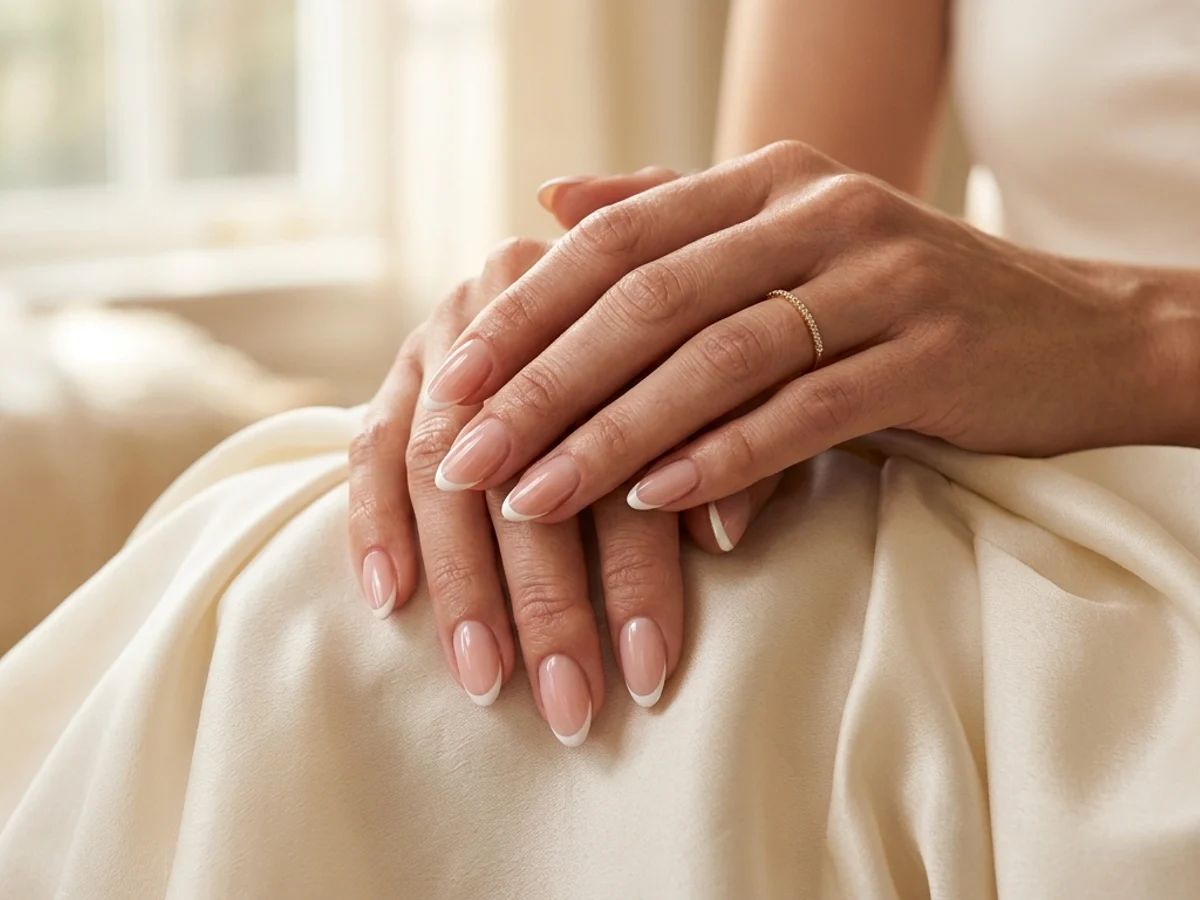
How to Create Micro French Tips: Crisp Hairline Smile Lines at Home
Master razor-thin 1mm French smile lines using a fine liner brush, sheer blush base balancing, and clean-up refinement for an effortlessly elongated manicure.
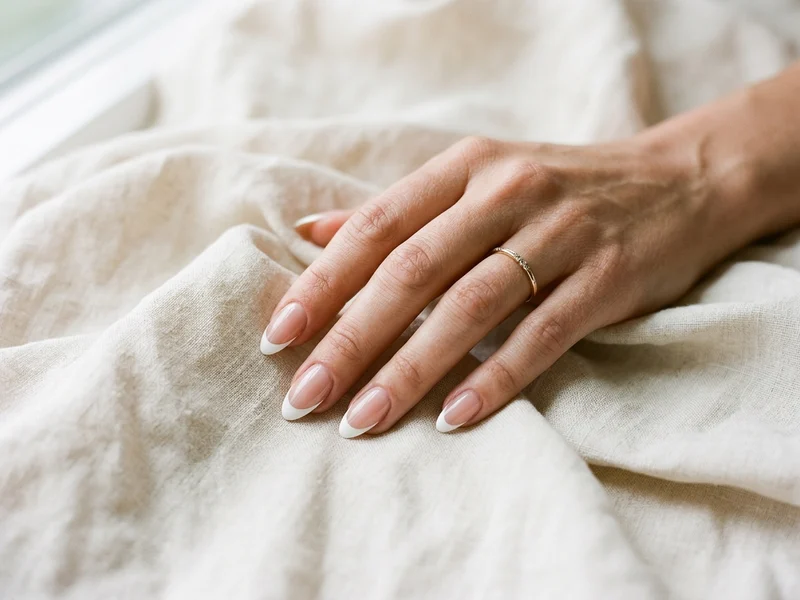
How to Create Classic White French Tips with Balanced Proportions
Learn the exact geometry behind timeless classic white French tips—from choosing a flattering sheer base to carving deep, symmetrical smile lines.
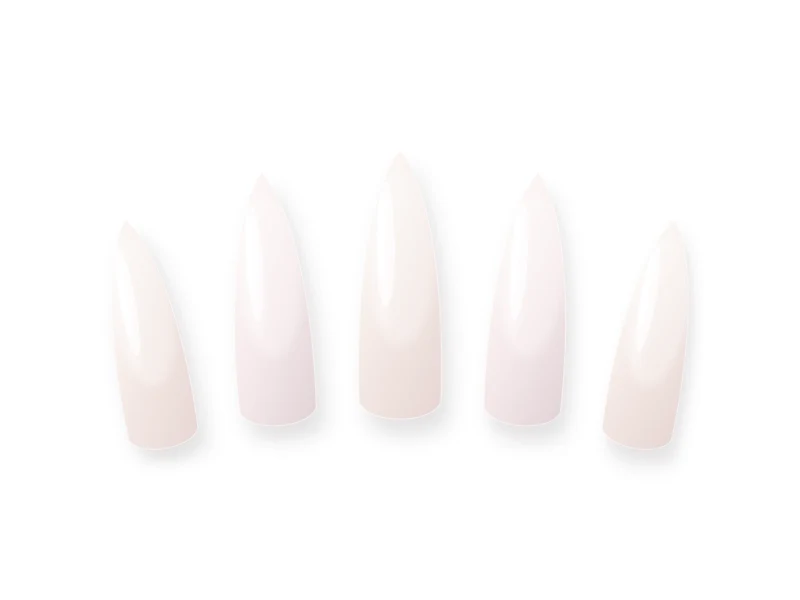
How to Do Glazed Donut Nails at Home: Luminous Pearl Chrome Technique
Unlock the mirror-smooth pearlescent sheen of glazed donut nails with precise flash-cure timing, dust-free prep, and chip-proof chrome edge sealing.